Hey everyone! So recently, one of my low beams in my headlights died, so I figured hey! This would be a great excuse to finally get HIDs! And that's exactly what I did. So here is a full list of what to do when installing the HI/LO H4 HID kit from DDM Tuning. And the kit I specifically got was the 8000K 55W HI/LO HID kit. I wanted to get a nice, bright, white color for my lights with a tint of blue in them and normally, an 8000K kit would be a lot more blue, but that is only if it is a 35W kit, when you get a 55W kit, no matter what bulb temperature you go with, the 55W kit will flush out a lot of the color, but is also a lot brighter. So for me, it works perfectly, because I was able to get a perfect match to my LED mirror lights that are a “cool white” color.
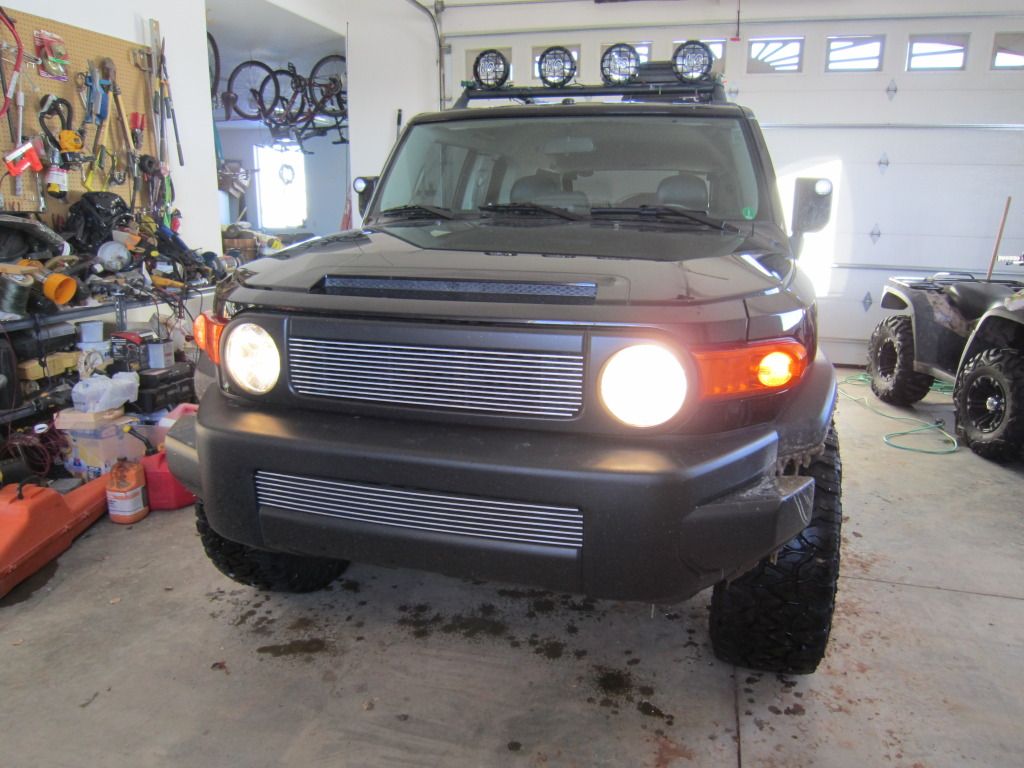
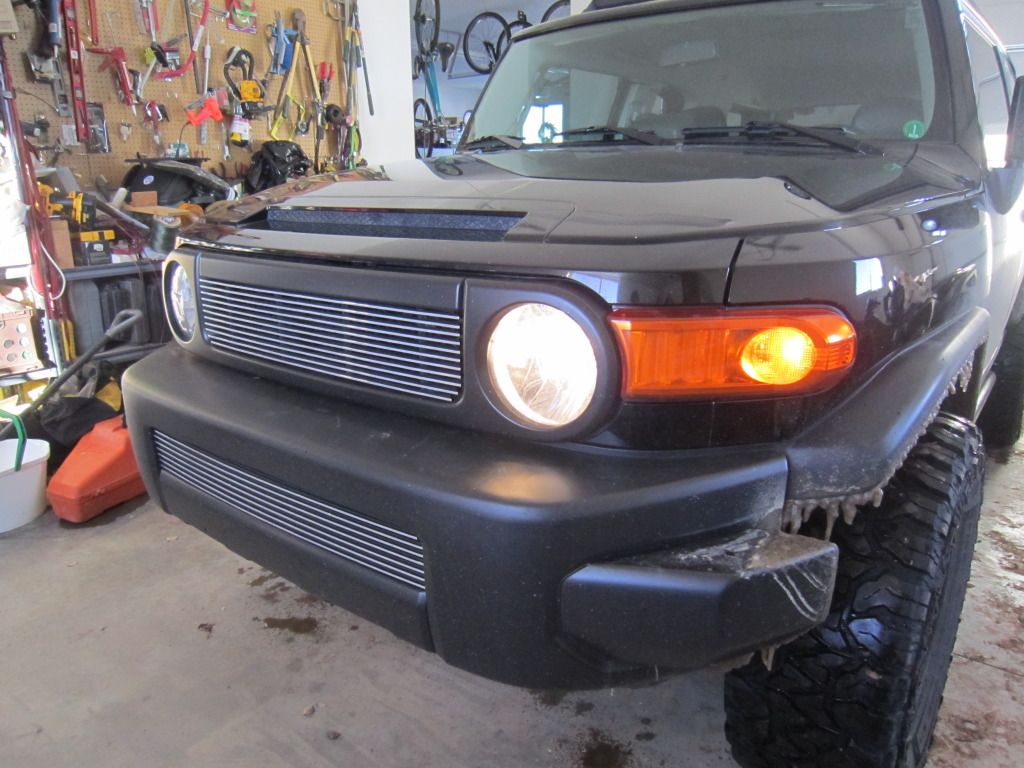
Before
![Image]()
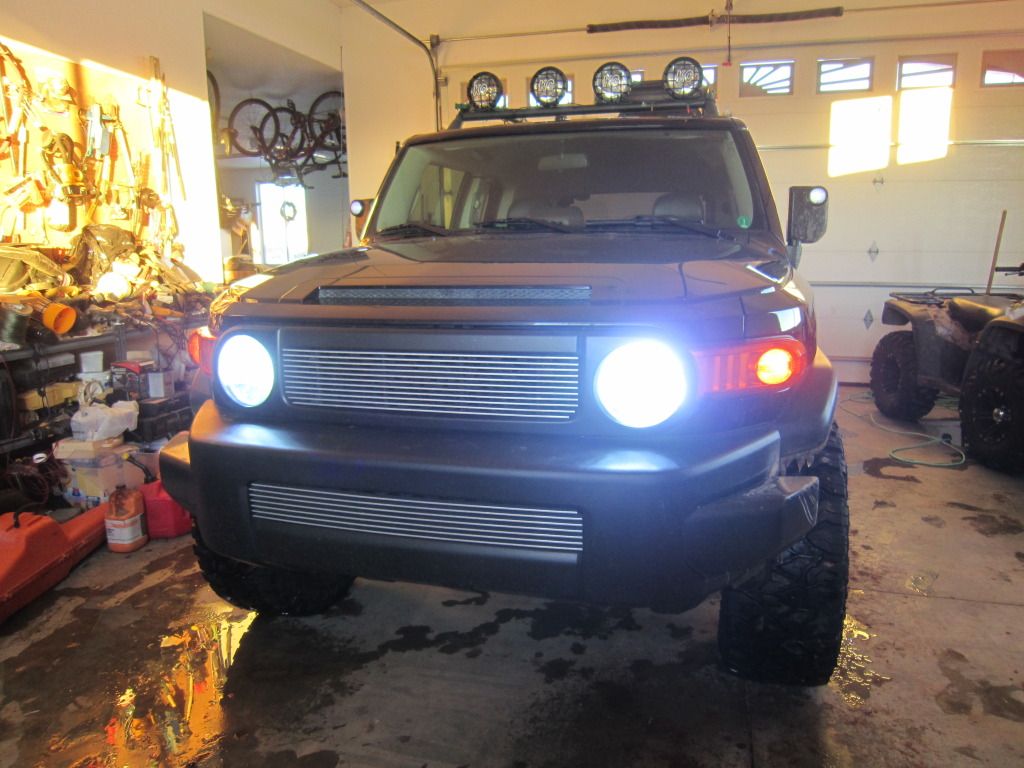
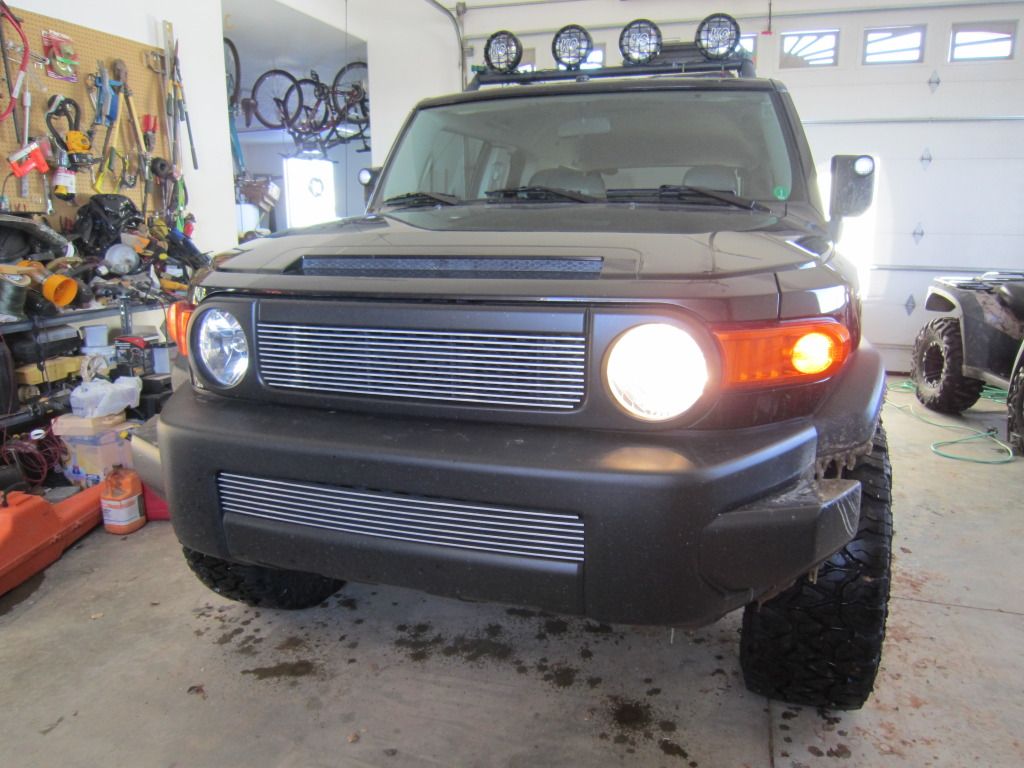
After
![Image]()
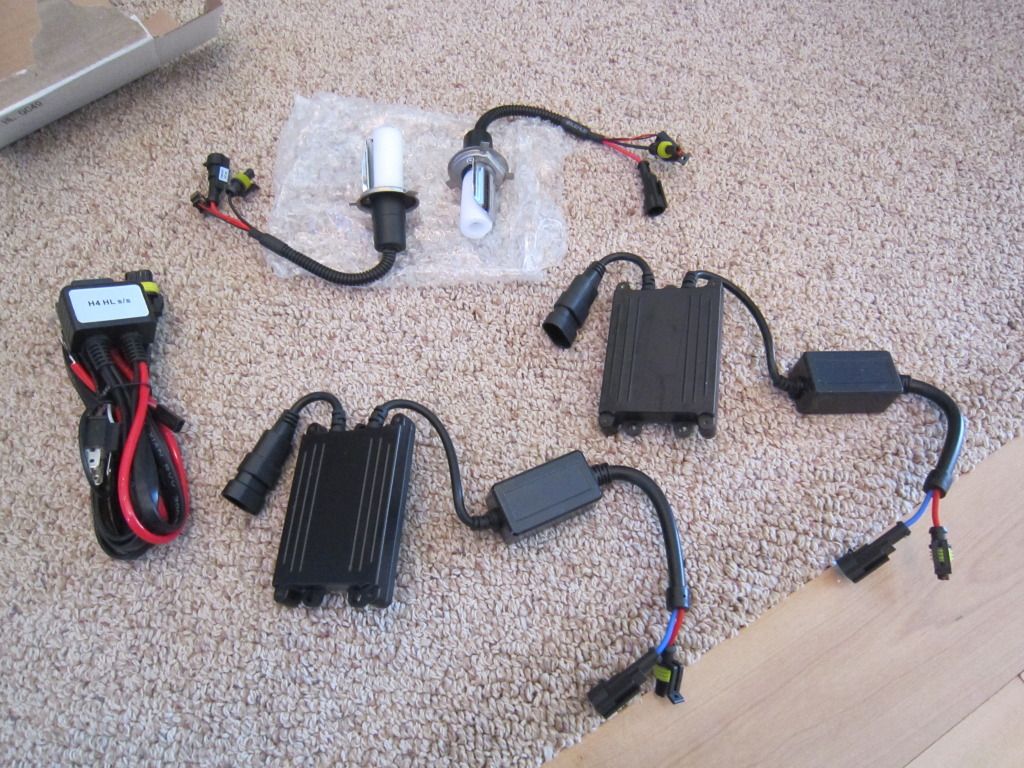
Here is a picture of the kits contents right after I opened the box.
![Image]()
This is a picture of the HID harness and as you can see, it says H4 for the type of bulb and then HL for the HI/LO function.
![Image]()
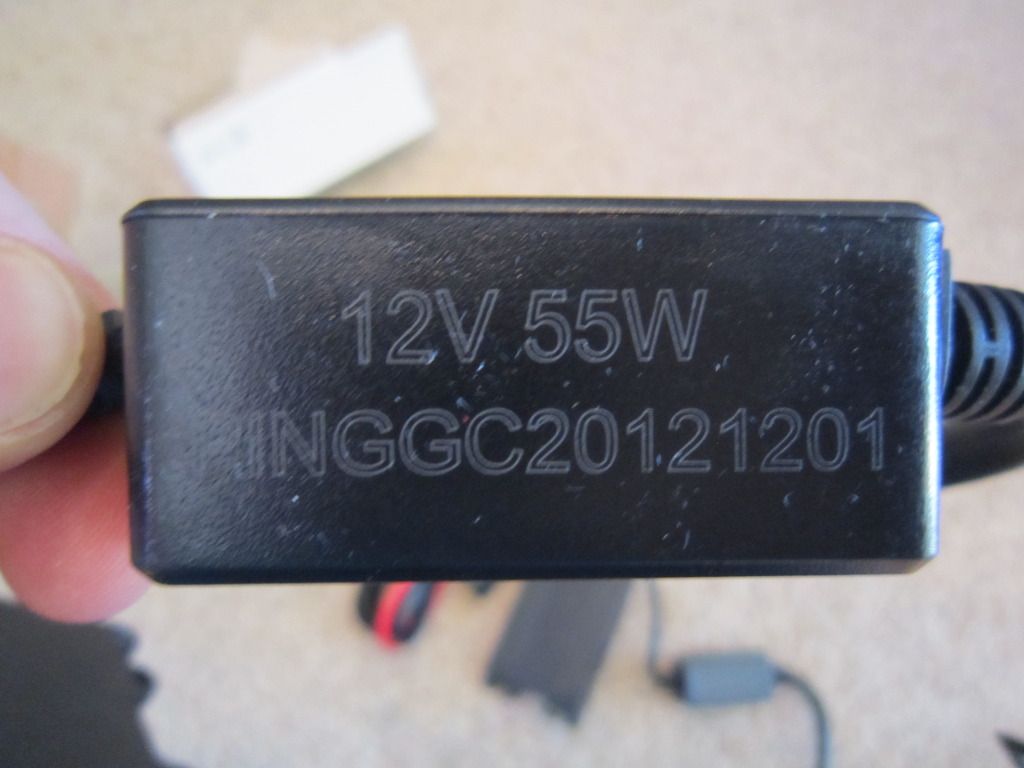
Here is part of the ballast where it says that it is a 55 watt kit and that it requires a 12 volt power source.
![Image]()
Here are before pictures of the stock FJ lights, sorry the pictures showing what they look like on a surface are orangeish, my camera would go to sunset settings
DRLs
![Image]()
![Image]()
Low beams - as you can see, one of the headlight filaments are out
![Image]()
![Image]()
High beams
![Image]()
![Image]()
_________________________
Now for the instructions, first, start with drivers side headlight
![Image]()
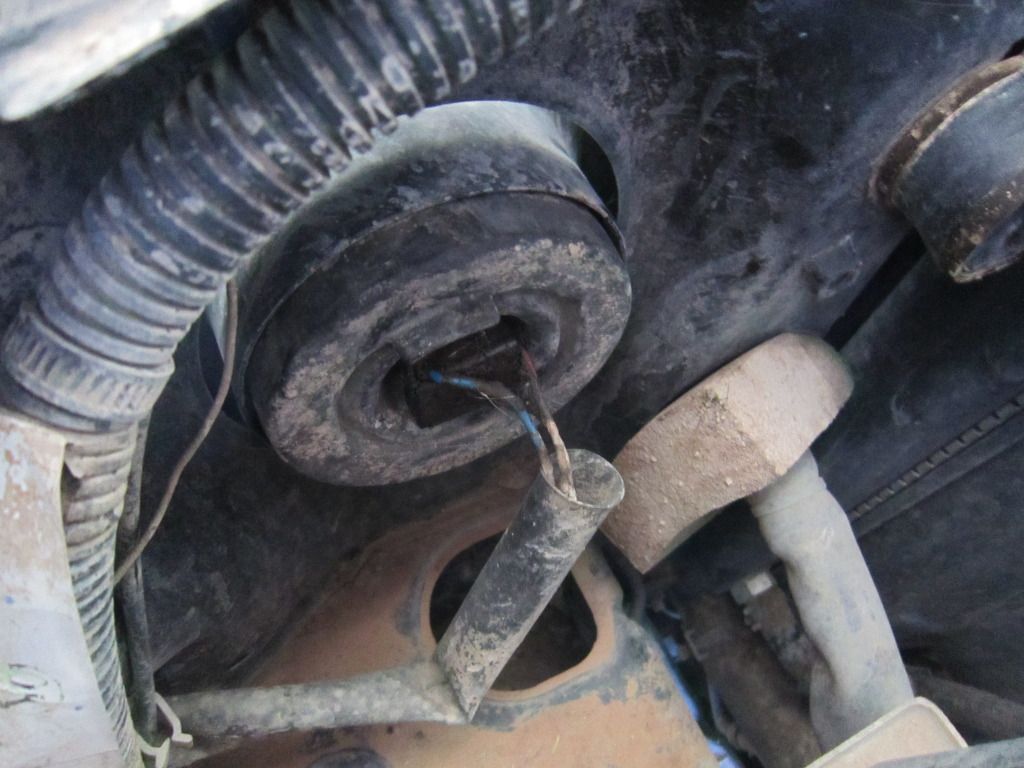
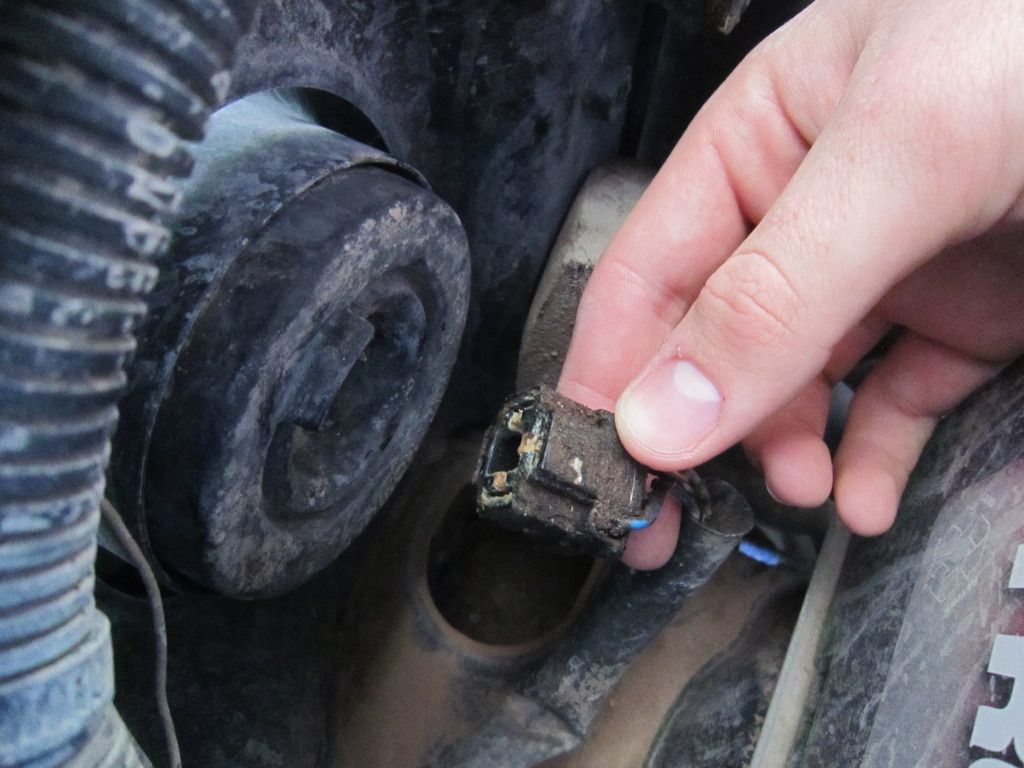
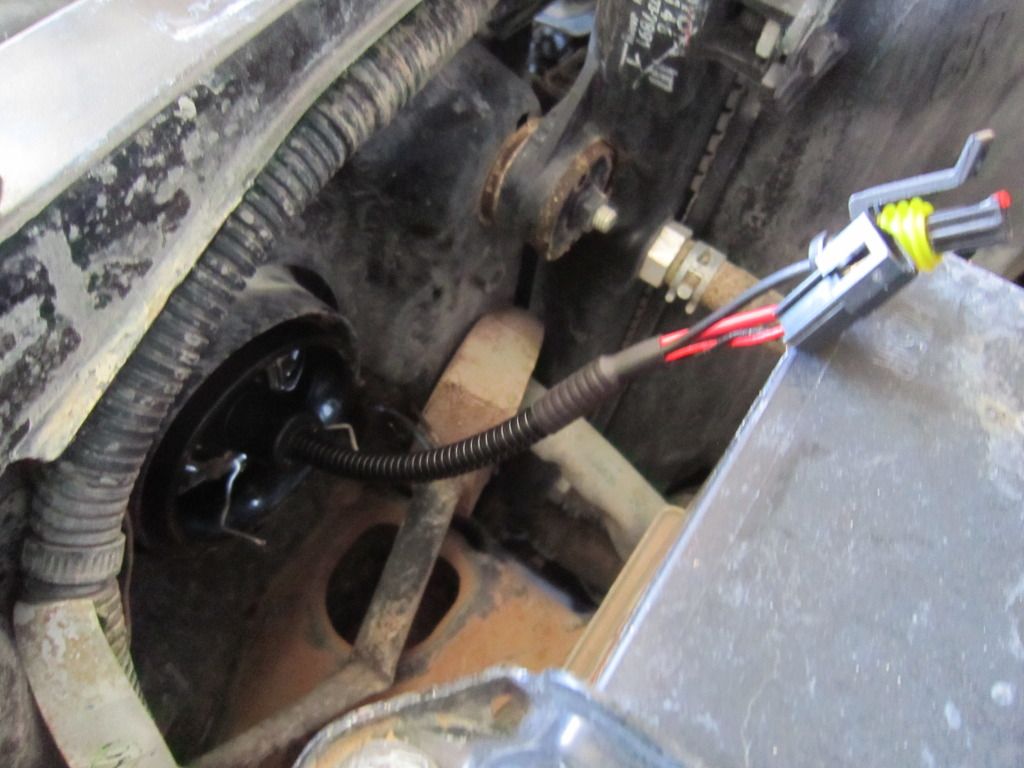
Unplug the OEM headlight plug just by pulling the plug straight out
![Image]()
Then remove the rubber weather seal by pulling on the tab
![Image]()
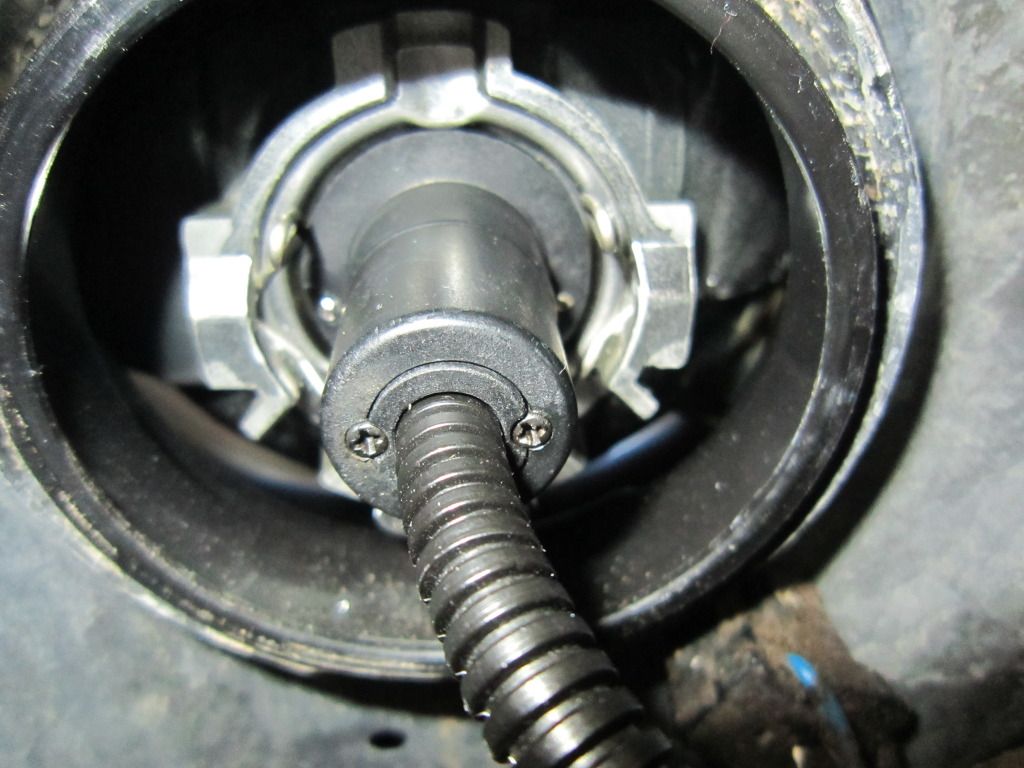
This shows what the headlight housing looks like from the rear after you remove the seal
![Image]()
Now you are going to want to unclip the metal retaining clip which holds/locks the light bulb in place
![Image]()
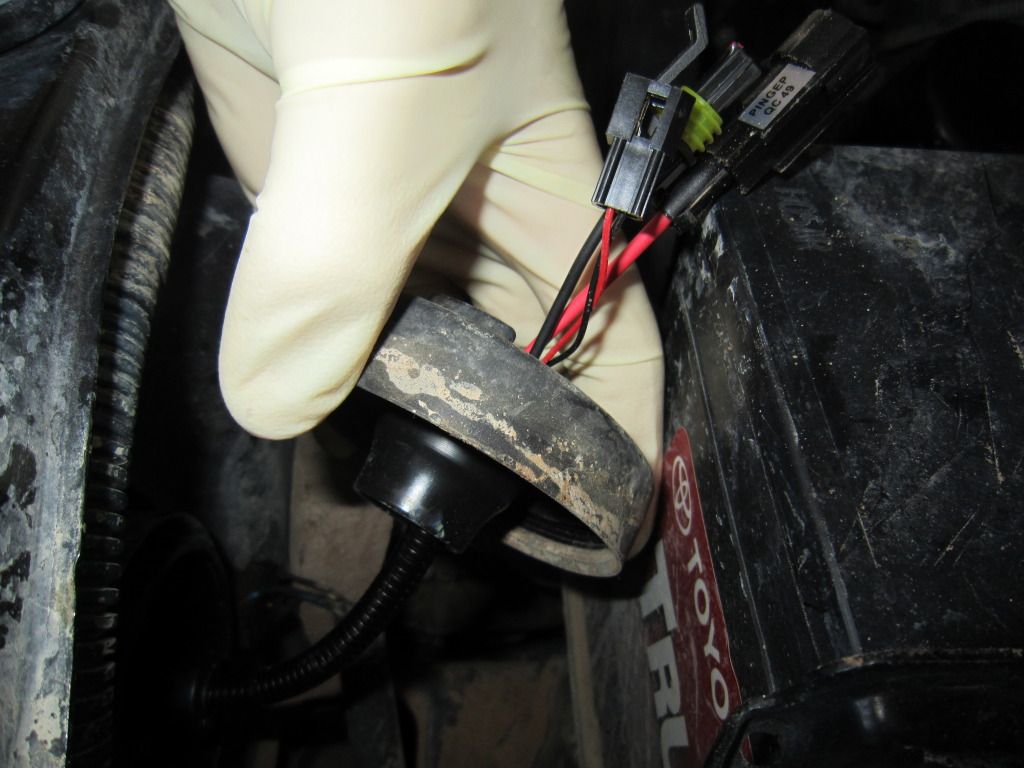
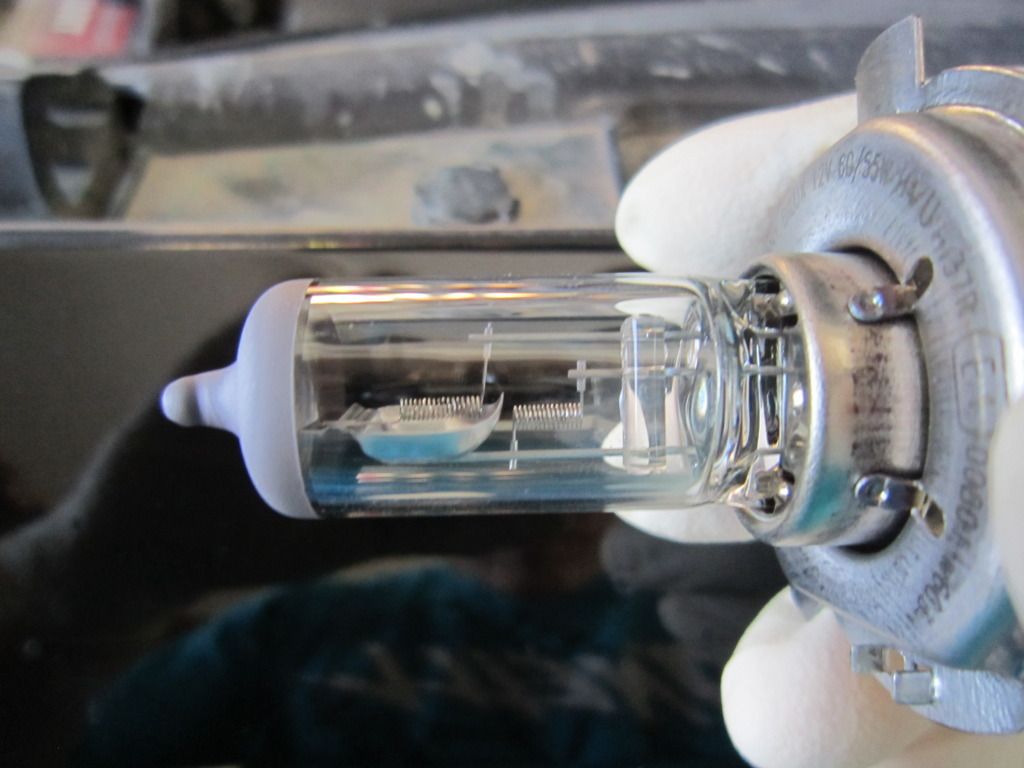
Then just remove the OEM bulb or whatever previous light bulb you have installed - after this point, I highly recommend wearing gloves so that your skin doesn't come in contact with the HID bulb, any oils that contact the bulb from your skin can ruin the bulb
![Image]()
Here is a picture showing the dual filaments within the stock bulb, this is how the one headlight can have both high and low beams in case you didn't know
![Image]()
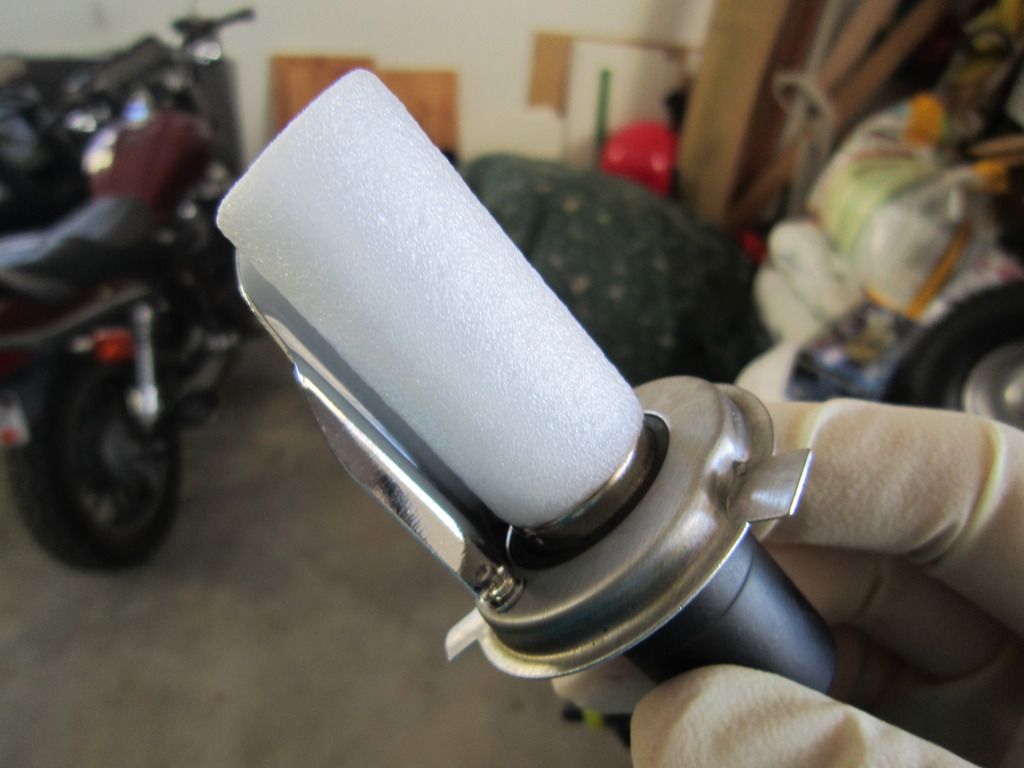
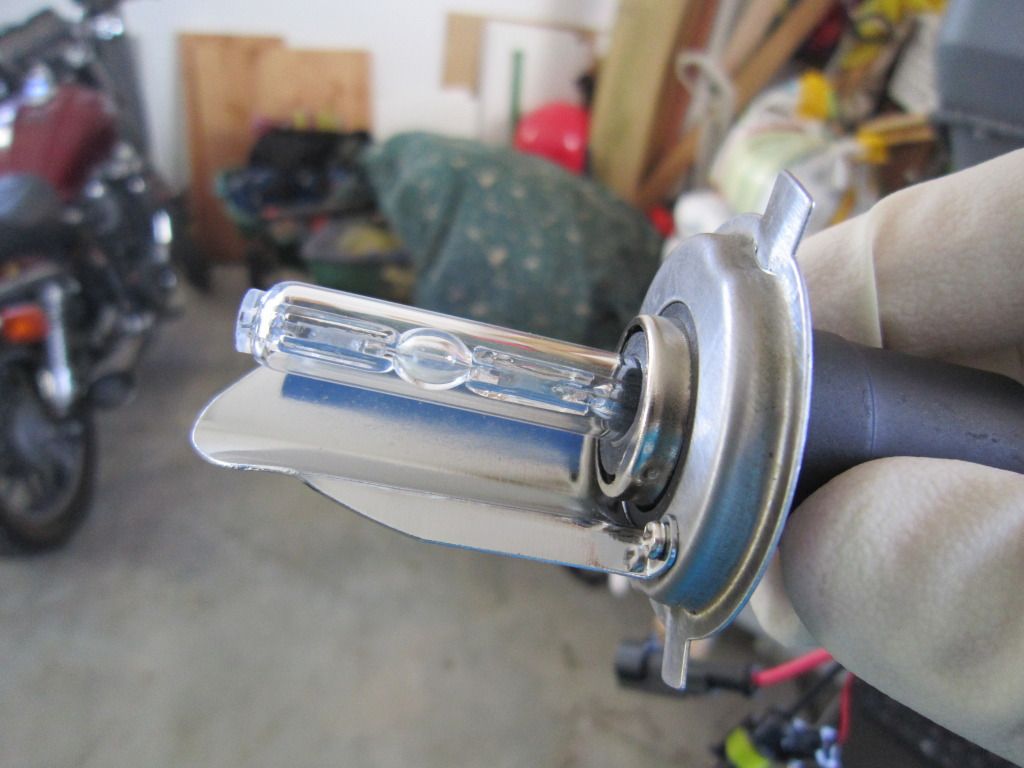
Now, carefully remove the foam protection from the HID bulb
![Image]()
![Image]()
![Image]()
Now just install the HID bulb into the headlight housing, the metal shield attached to the bulb will be on the bottom side when you put it in, then you just reclip in the metal retaining clip so the bulb is locked into place
![Image]()
![Image]()
Now run the wires from the bulb through the weather seal and then push the seal down around the bulb
![Image]()
![Image]()
Before
After
Here is a picture of the kits contents right after I opened the box.
This is a picture of the HID harness and as you can see, it says H4 for the type of bulb and then HL for the HI/LO function.

Here is part of the ballast where it says that it is a 55 watt kit and that it requires a 12 volt power source.
Here are before pictures of the stock FJ lights, sorry the pictures showing what they look like on a surface are orangeish, my camera would go to sunset settings
DRLs
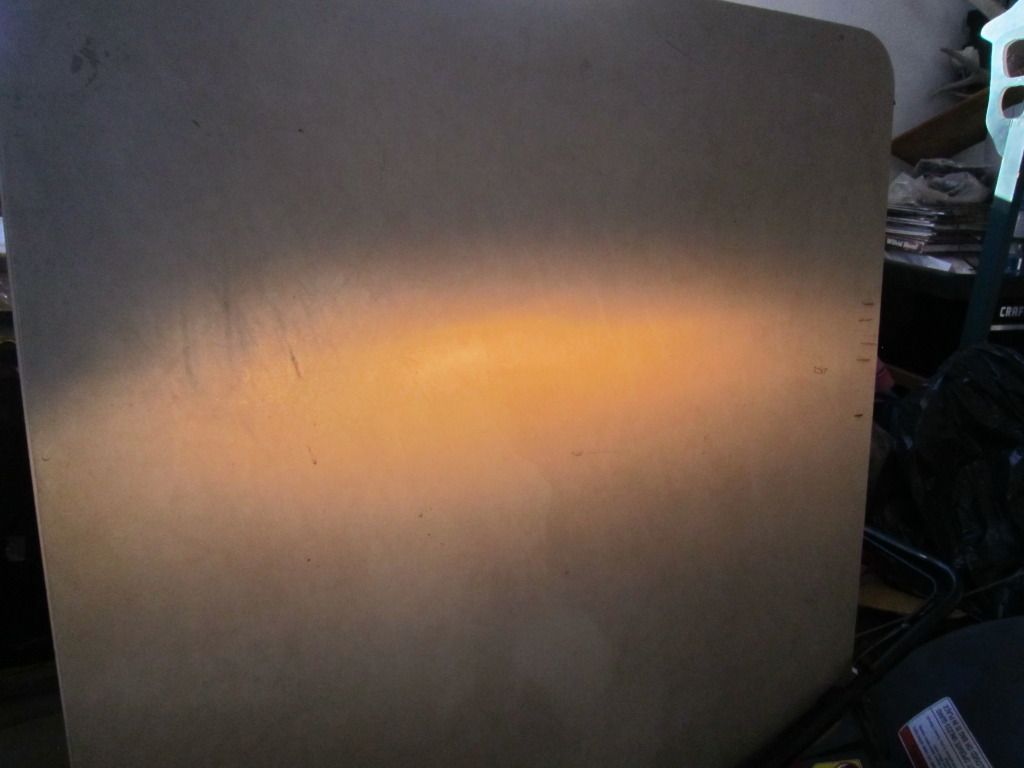
Low beams - as you can see, one of the headlight filaments are out
High beams
_________________________
Now for the instructions, first, start with drivers side headlight
Unplug the OEM headlight plug just by pulling the plug straight out
Then remove the rubber weather seal by pulling on the tab
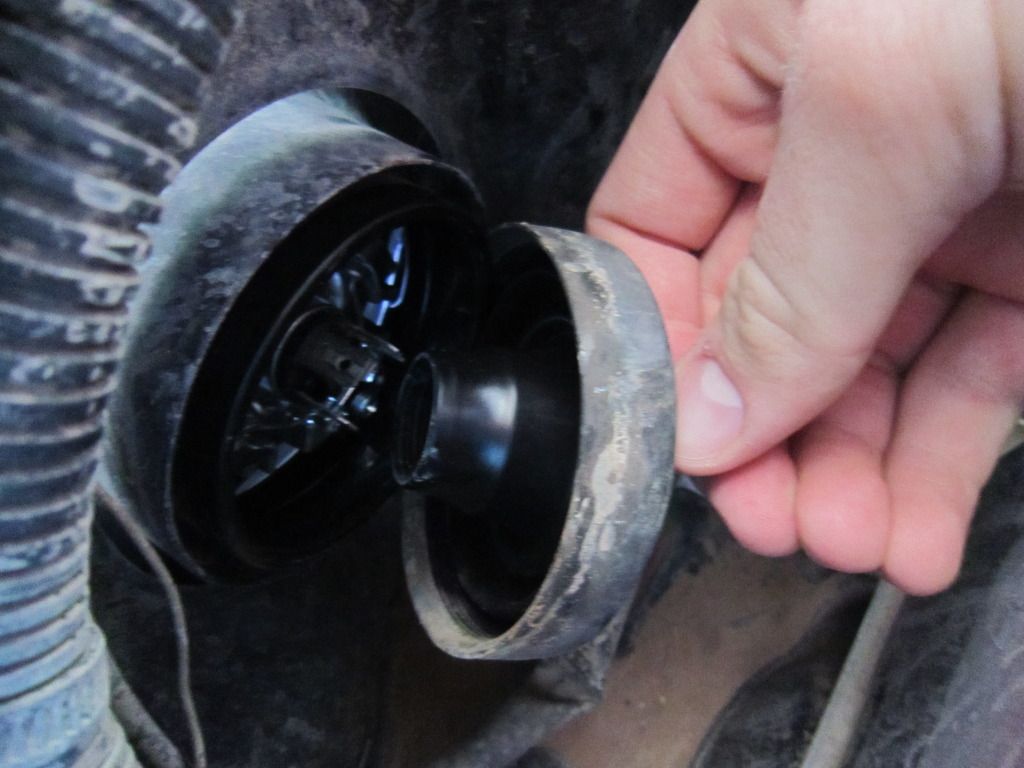
This shows what the headlight housing looks like from the rear after you remove the seal
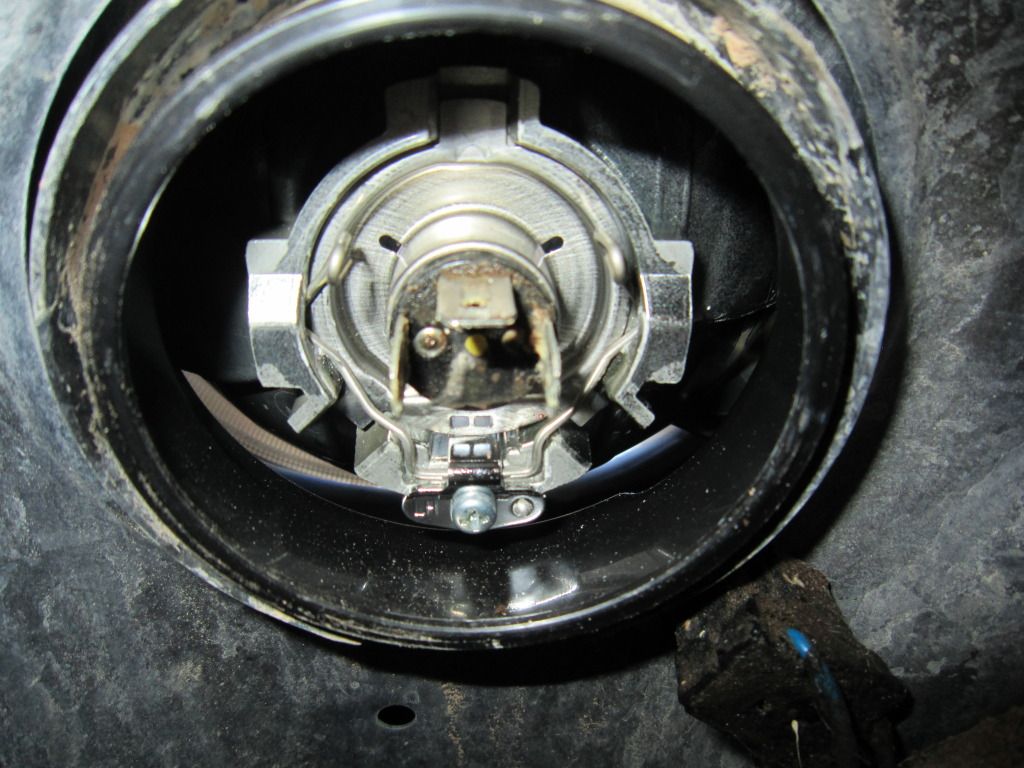
Now you are going to want to unclip the metal retaining clip which holds/locks the light bulb in place
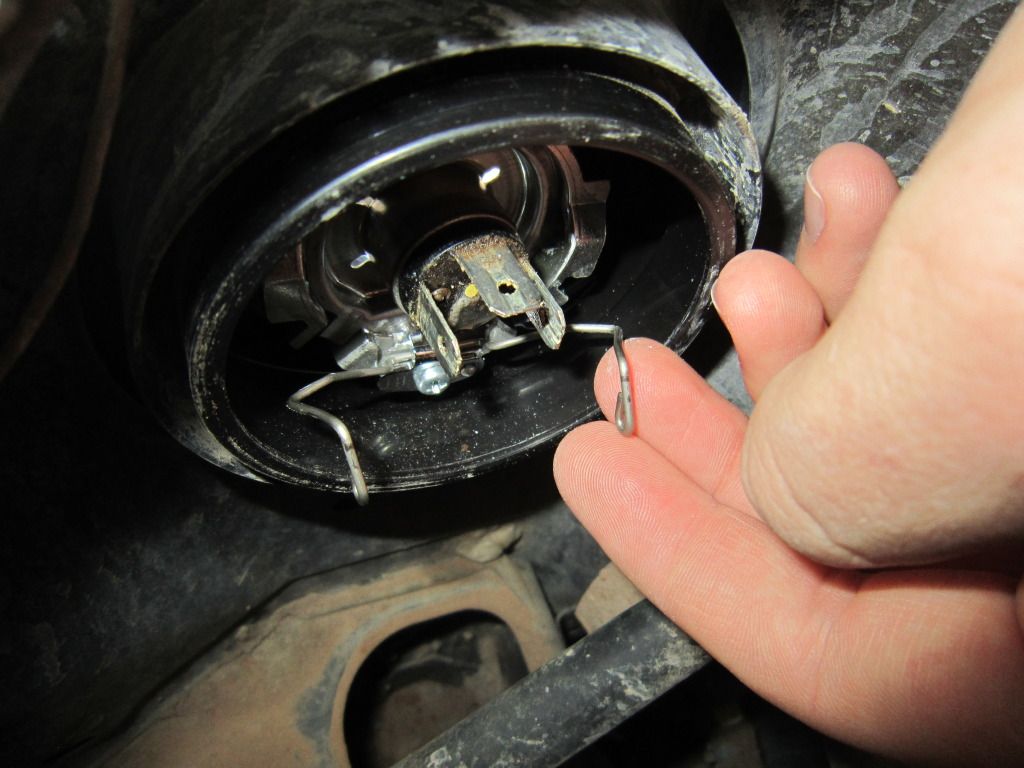
Then just remove the OEM bulb or whatever previous light bulb you have installed - after this point, I highly recommend wearing gloves so that your skin doesn't come in contact with the HID bulb, any oils that contact the bulb from your skin can ruin the bulb
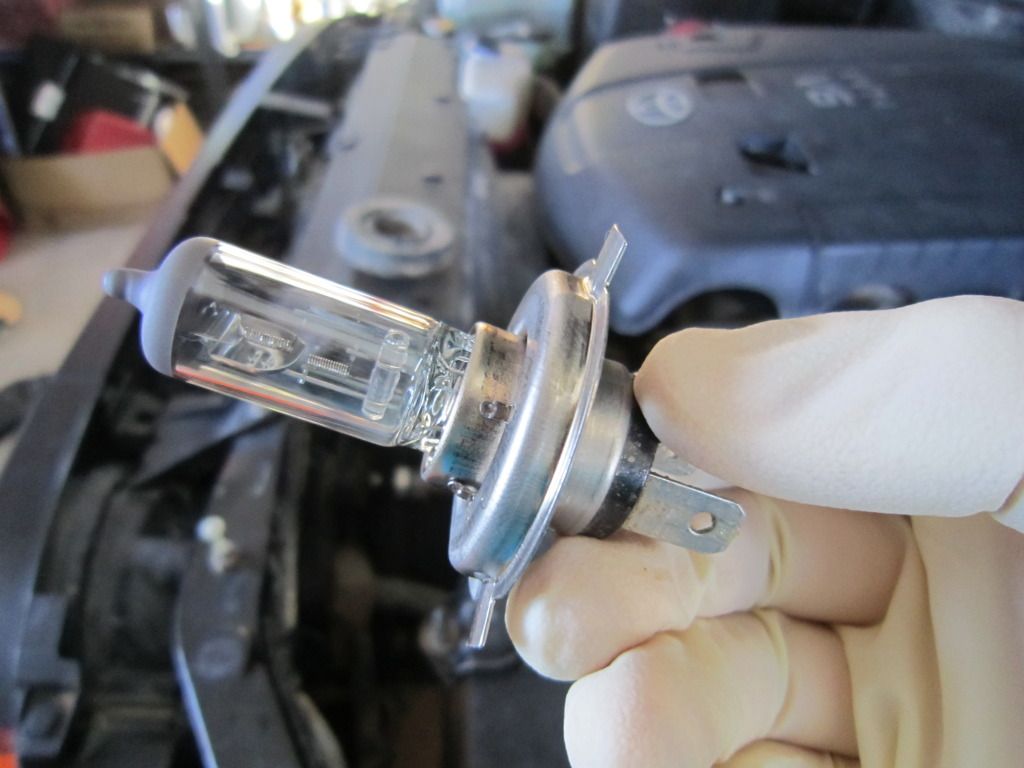
Here is a picture showing the dual filaments within the stock bulb, this is how the one headlight can have both high and low beams in case you didn't know
Now, carefully remove the foam protection from the HID bulb
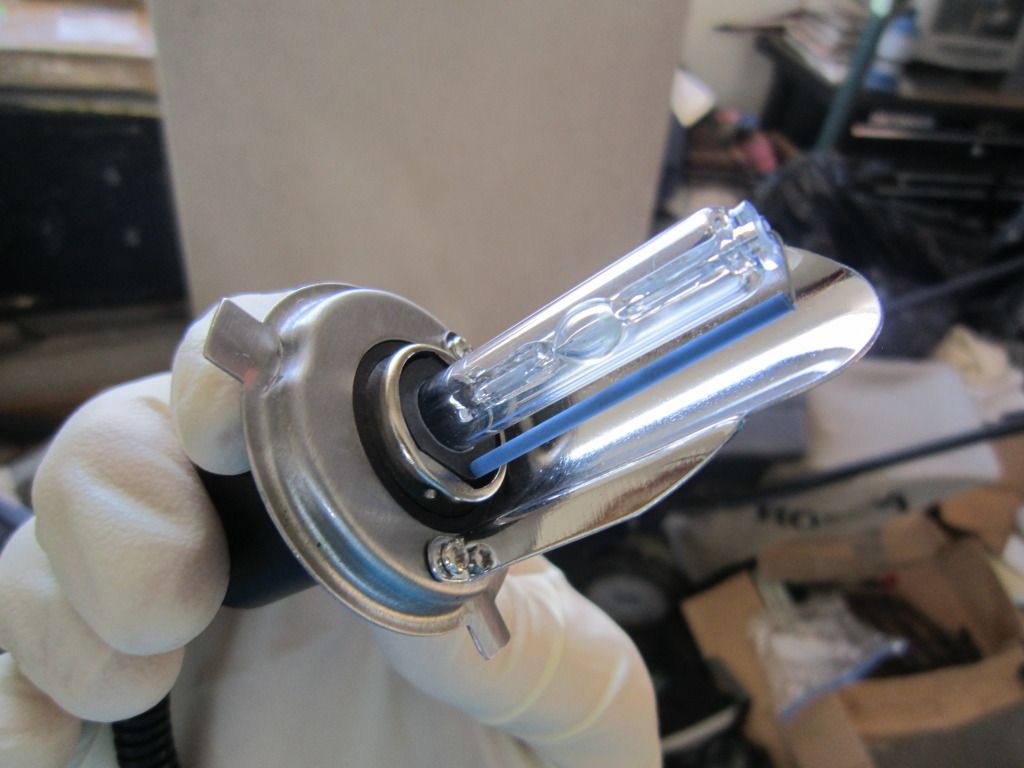
Now just install the HID bulb into the headlight housing, the metal shield attached to the bulb will be on the bottom side when you put it in, then you just reclip in the metal retaining clip so the bulb is locked into place
Now run the wires from the bulb through the weather seal and then push the seal down around the bulb