

EasyStreet's Titanium FJ Buildup and Travel Log
.
.
This page is about the family FJ for Trips, Trails, and Adventures.
Panhard Correction Bracket Install Page 7 Post 61 (posted 5/28/2019)
Lift Install Page 5 Post 47 (posted 6/13/2018)
Winch Install Page 4 Post 33 (posted 6/29/17)
Bed Instructions bottom of post 4 (posted 10/29/2011)
.jpg)
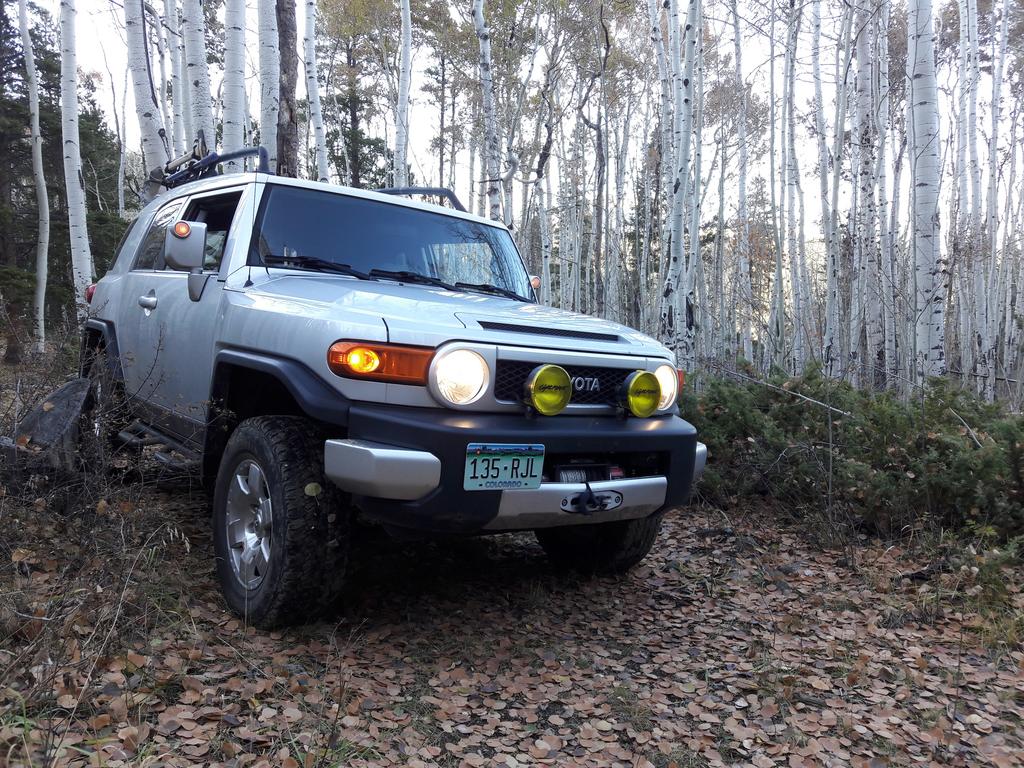
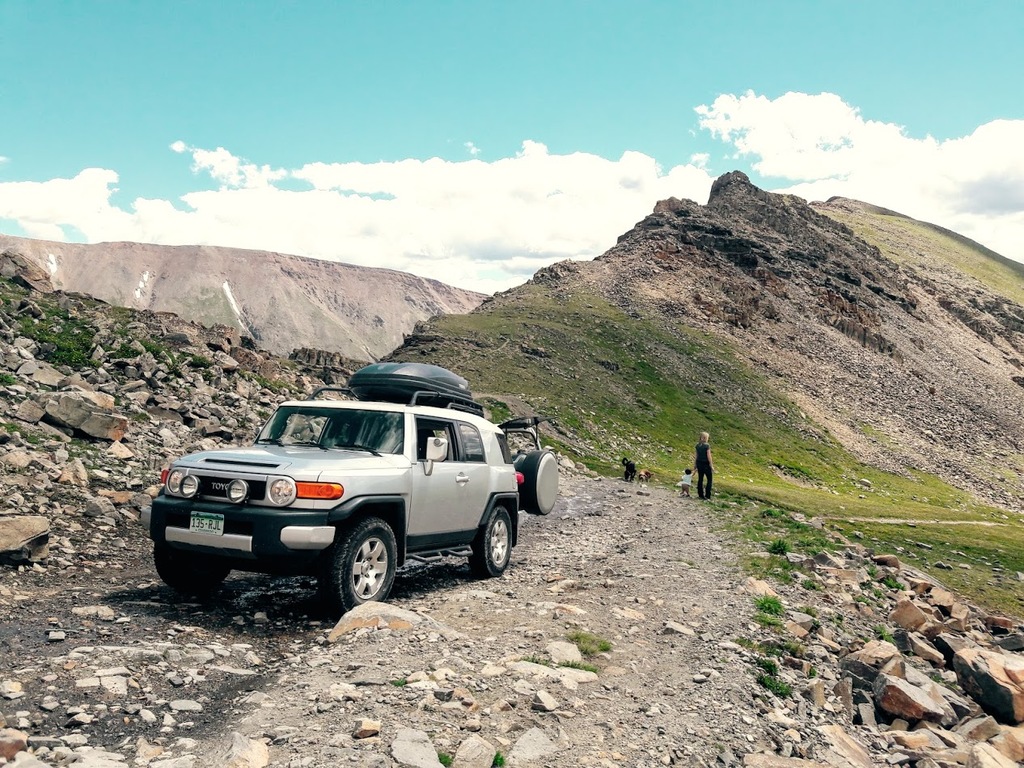
Table of Contents
Intro --------------------------------Page 1 Post 1 (Your Here)
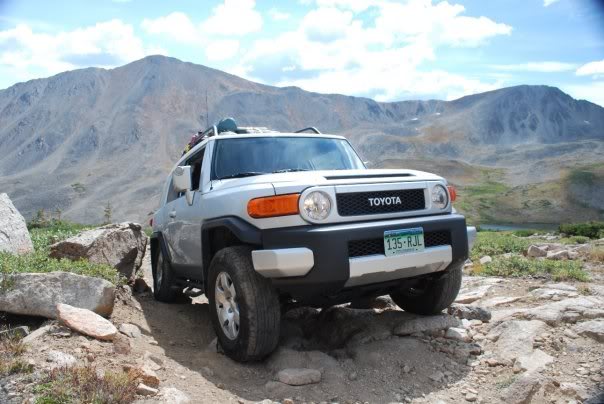
Stock Off Roading Pictures --------Page 1 Post 2
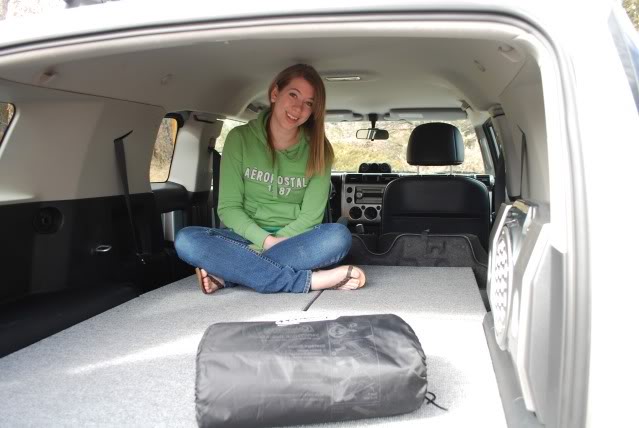
FJ Bedding Setup ------------------Page 1 Post 3 Inside FJ Post 4 Instructions Added To Bottom Of Post 4
China Wall Off Road ---------------Page 2 Post 15
San Juan Trip July 2011 -----------Page 2 Post 18
Roof Box Mount Bar ---------------Page 3 Post 23
Trips in 2016 Photos ---------------Page 3 Post 30 onto Page 4
Winch Install -----------------------Page 4 Post 33
Red Cone 2017 --------------------Page 4 Post 38
Lift Install --------------------------Page 5 Post 47
This is the build thread of my currently largely stock 2007 Titanium Silver FJ Cruiser 4x4 with Auto Transmission, A-TRAC, and Rear Locker. This is a great vehicle. Yes it has a couple downsides, the visibility is not optimum, you have to take your set belt off to let someone in the backseat, and the fuel mileage is mediocre but the benefits far outweigh these small issues. The versatility is great for in town day to day activities (Wife DDs it) and it has amazing off road capabilities while still performing civilized on city roads and highways. Toyota you did an amazing job in the engineering of this vehicle. We love getting out in the world with it and exploring.
Current Modifications
- Light Force Striker 170 off road lights on front bumper
- Rear bedding system
- Roof rack drop bar for Thule Box
- Quick Fist rack axe and shovel mount
- Firestone Destination AT tires, stock size
- Smittybilt 9.5XRC Winch with Synthetic Line
- Cobra 75WXT CB Radio
- Passenger Armrest
- Bilstein 5100 with Toytec Springs lift + SPC UCAs
- PCK by eimkeith (Panhard Correction Kit)
Here are my current plans.
- Hi Lift Mount
- 12 volt rear outlet
- 285/70s or 255/80s not sure yet
- Skid Plates with more rigidity
.
.
This page is about the family FJ for Trips, Trails, and Adventures.
Panhard Correction Bracket Install Page 7 Post 61 (posted 5/28/2019)
Lift Install Page 5 Post 47 (posted 6/13/2018)
Winch Install Page 4 Post 33 (posted 6/29/17)
Bed Instructions bottom of post 4 (posted 10/29/2011)
Table of Contents
Intro --------------------------------Page 1 Post 1 (Your Here)
Stock Off Roading Pictures --------Page 1 Post 2
FJ Bedding Setup ------------------Page 1 Post 3 Inside FJ Post 4 Instructions Added To Bottom Of Post 4
China Wall Off Road ---------------Page 2 Post 15
San Juan Trip July 2011 -----------Page 2 Post 18
Roof Box Mount Bar ---------------Page 3 Post 23
Trips in 2016 Photos ---------------Page 3 Post 30 onto Page 4
Winch Install -----------------------Page 4 Post 33
Red Cone 2017 --------------------Page 4 Post 38
Lift Install --------------------------Page 5 Post 47
This is the build thread of my currently largely stock 2007 Titanium Silver FJ Cruiser 4x4 with Auto Transmission, A-TRAC, and Rear Locker. This is a great vehicle. Yes it has a couple downsides, the visibility is not optimum, you have to take your set belt off to let someone in the backseat, and the fuel mileage is mediocre but the benefits far outweigh these small issues. The versatility is great for in town day to day activities (Wife DDs it) and it has amazing off road capabilities while still performing civilized on city roads and highways. Toyota you did an amazing job in the engineering of this vehicle. We love getting out in the world with it and exploring.
Current Modifications
- Light Force Striker 170 off road lights on front bumper
- Rear bedding system
- Roof rack drop bar for Thule Box
- Quick Fist rack axe and shovel mount
- Firestone Destination AT tires, stock size
- Smittybilt 9.5XRC Winch with Synthetic Line
- Cobra 75WXT CB Radio
- Passenger Armrest
- Bilstein 5100 with Toytec Springs lift + SPC UCAs
- PCK by eimkeith (Panhard Correction Kit)
Here are my current plans.
- Hi Lift Mount
- 12 volt rear outlet
- 285/70s or 255/80s not sure yet
- Skid Plates with more rigidity


.jpg)


