

I took on this project because of the large amount of wind noise while on the highway from my ARB roof rack and lights. The goal of this project was to dynamat the entire roof while keeping to a strict budget. Dynamat is used to kill vibrations, NOT stop sound which means another layer of sound deadening should be used. Because of the limited budget I opted to pick up a roll of foam carpet pad/liner from Home Depot. I figured this would be extremely similar to the expensive stuff at a fraction of the cost
Supplies
1 bulk pack of Dynamat - 144$ shipped
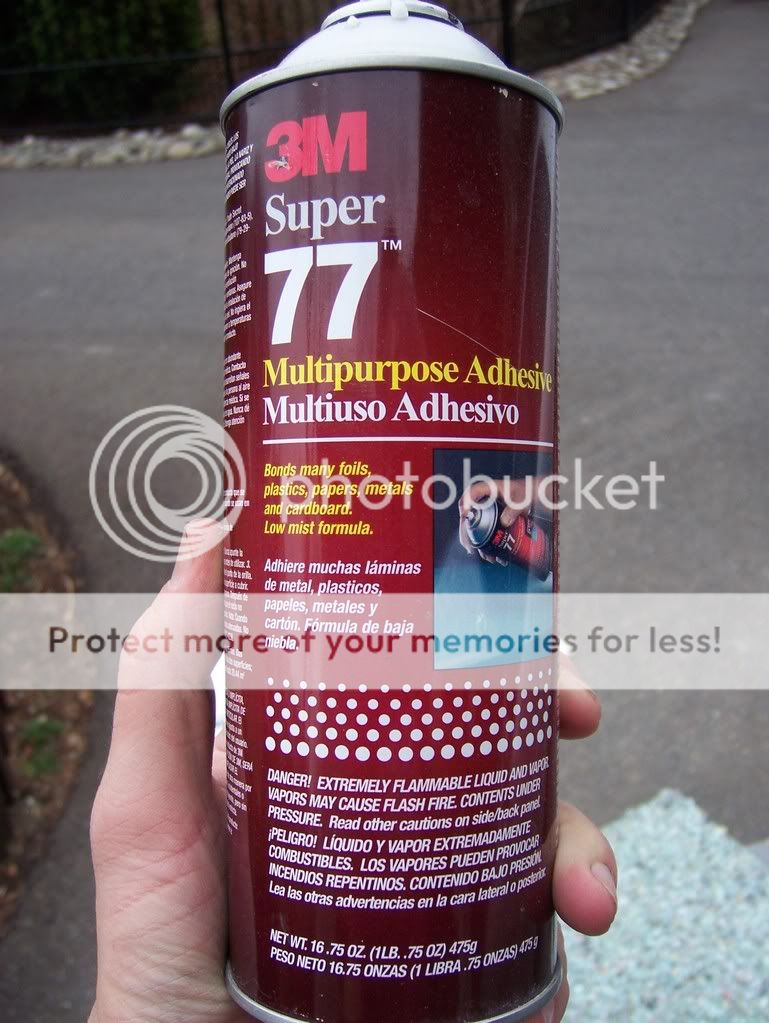
1 can of 3M super adhesive - 10$
![Image]()
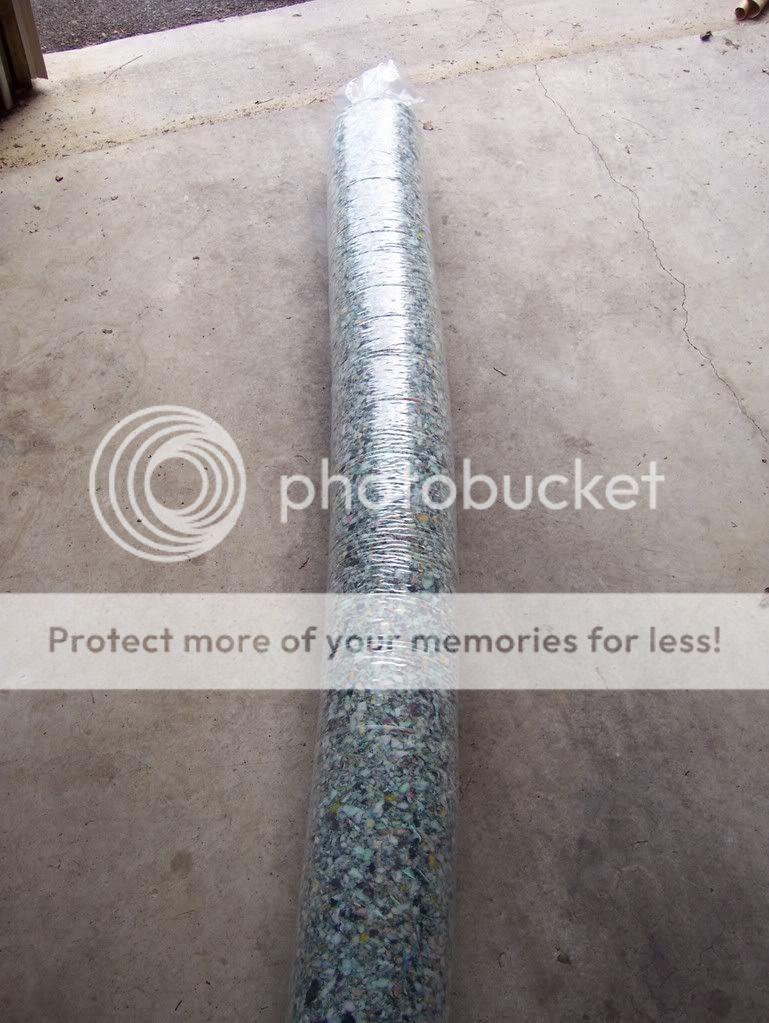
1 large roll of carpet padding - 30$
![Image]()
utility knife - 2$
Time - $$$$$$$$$$$
Total Cost approx. 200$
Warnings:
1) This will take a very long time and a lot of energy
2) If not done carefully it will ruin your headliner
3) Dynamat will cut your hands
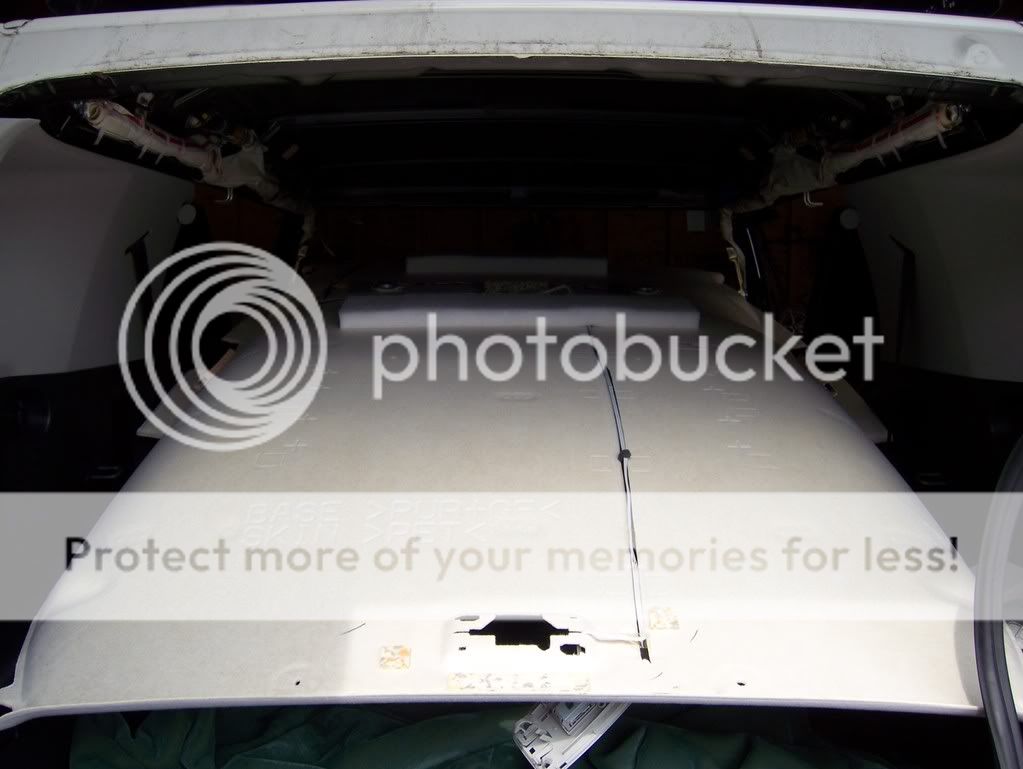
Step one remove everything connected to the headliner. This includes hand holds, rear mirror, weather stripping around doors, rear hooks. Basically everything that is connected to the the headliner must be removed. Also the rear side panels will need to be disconnected and pulled out. They are held in by one bolt behind the Airbag emblem, a screw located in the rear hook and a push button plastic clip located near the rear glass. It is held in by many plastic clips so a good tug is necessary to pull it away from the body.
![Image]()
![Image]()
![Image]()
Note the bolt behind the Airbag button
![Image]()
![Image]()
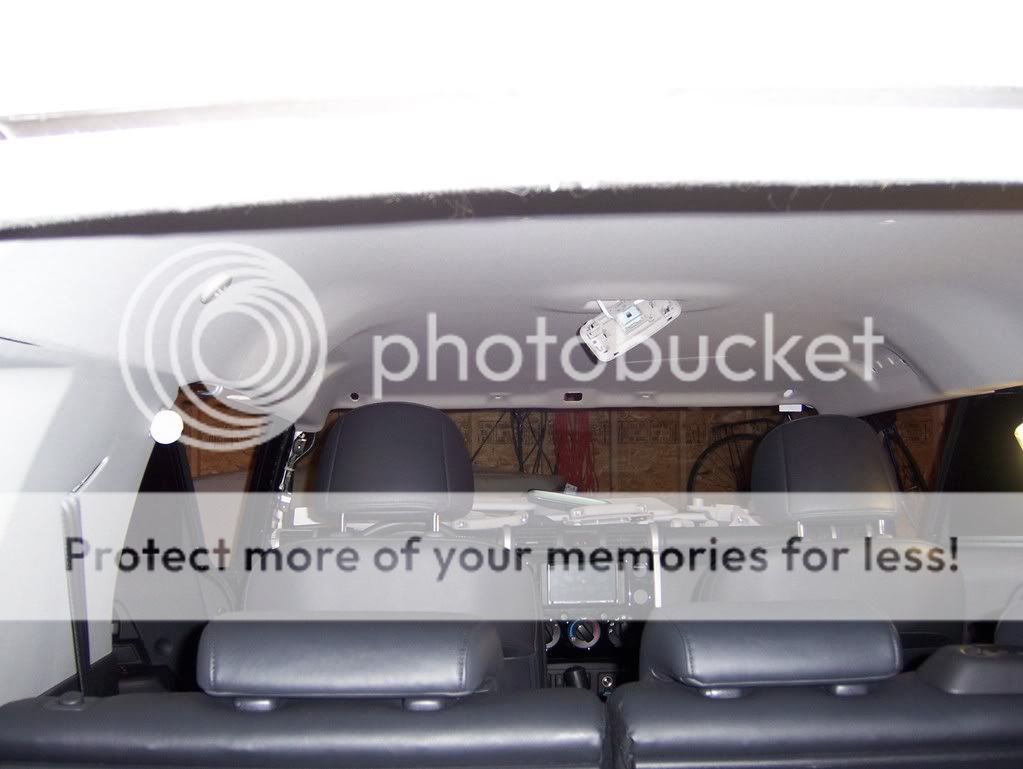
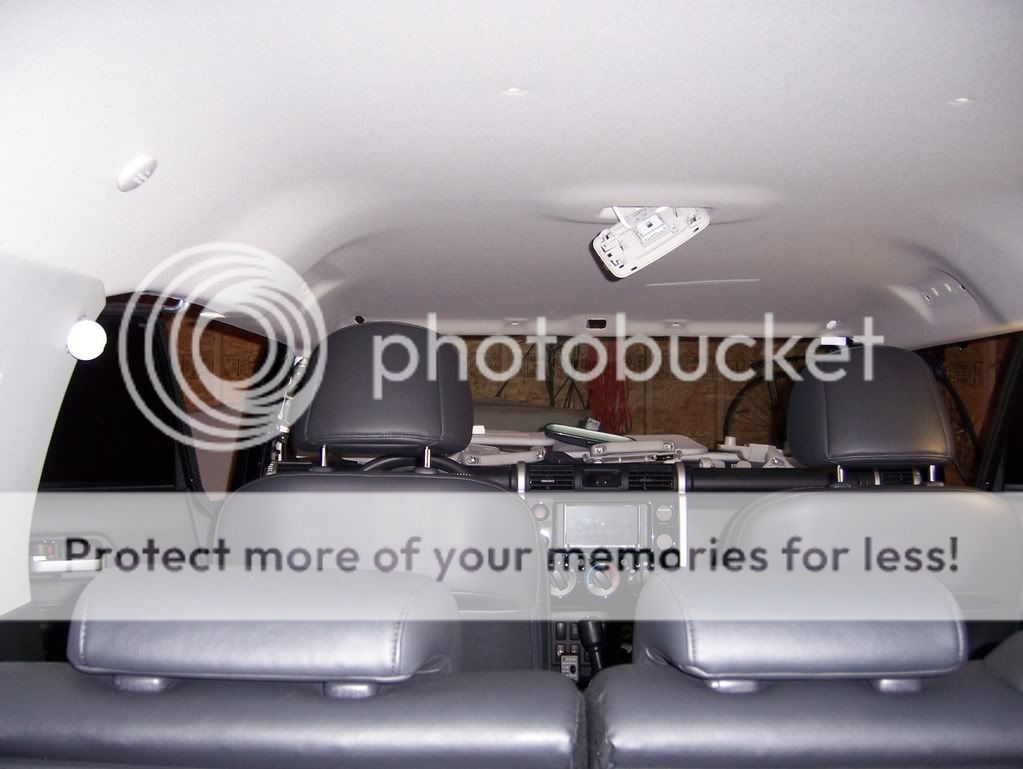
Step Two: TWO people are required to do this next step which is dropping down the headliner. At this point it should want to drop but will still be held in place by the large side plastic panels. You must pull the edges carefully out from behind them and now the headliner will drop and rest on the seats.
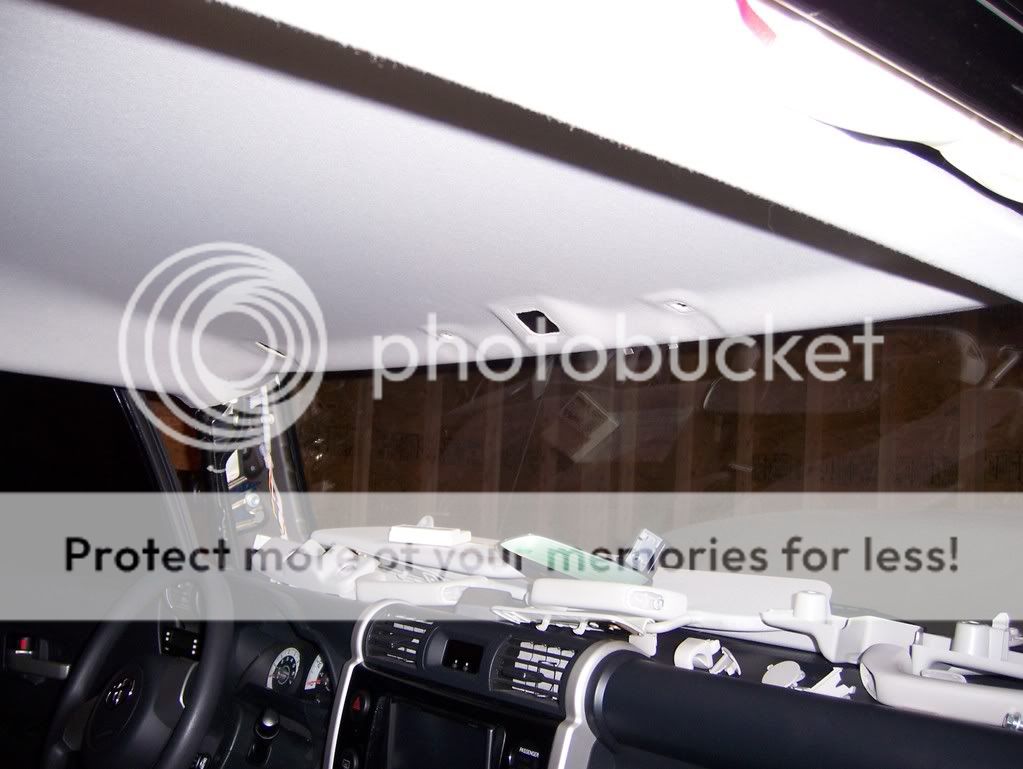
I was unable to remove the headliner from the FJ because it would not fit through the rear door. I did not want to bend corners or remove any other panels so I worked around the panel. It was dificult at times but manageable and saved the effort of removing other panels or damaging the headliner.
![Image]()
![Image]()
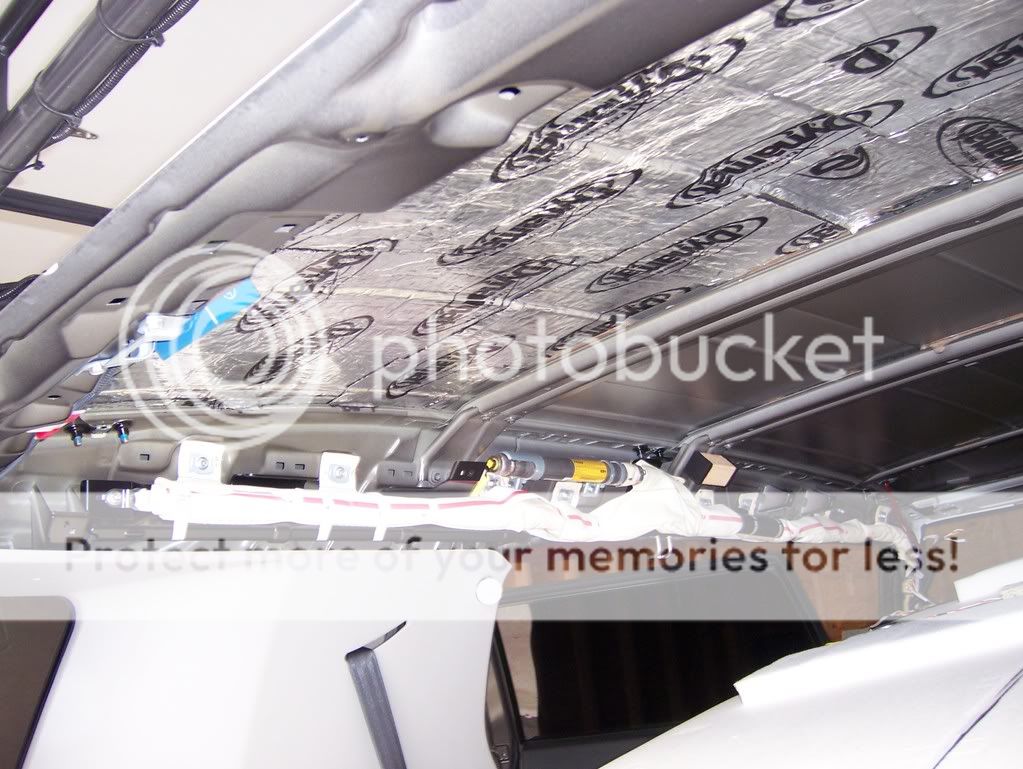
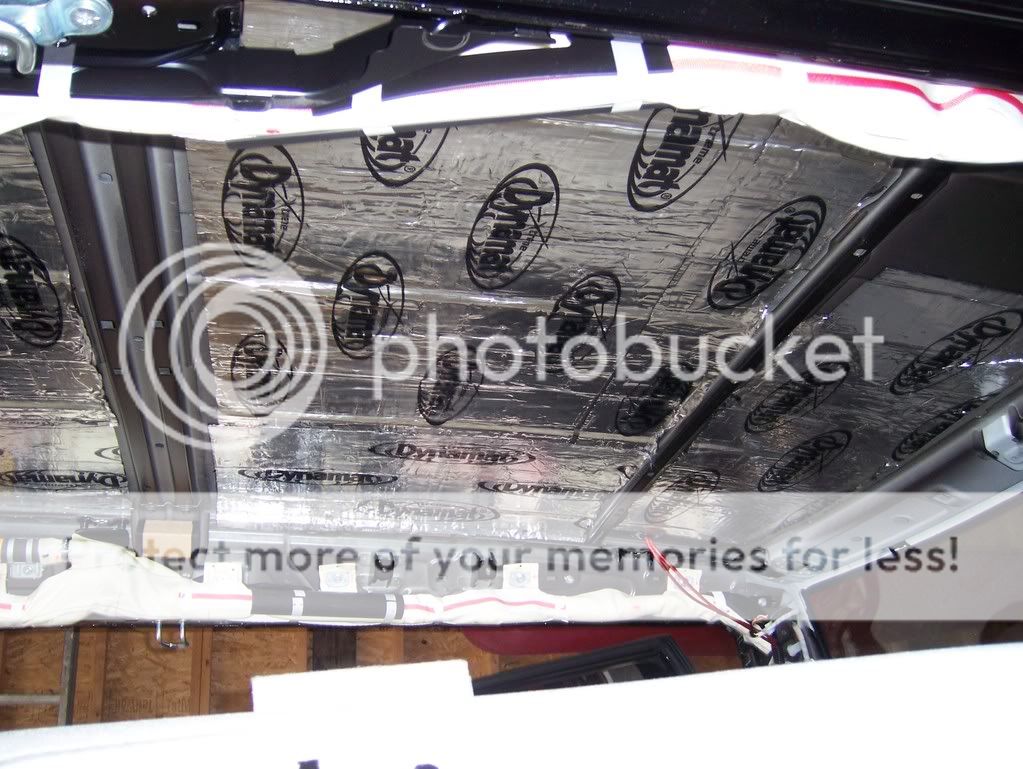
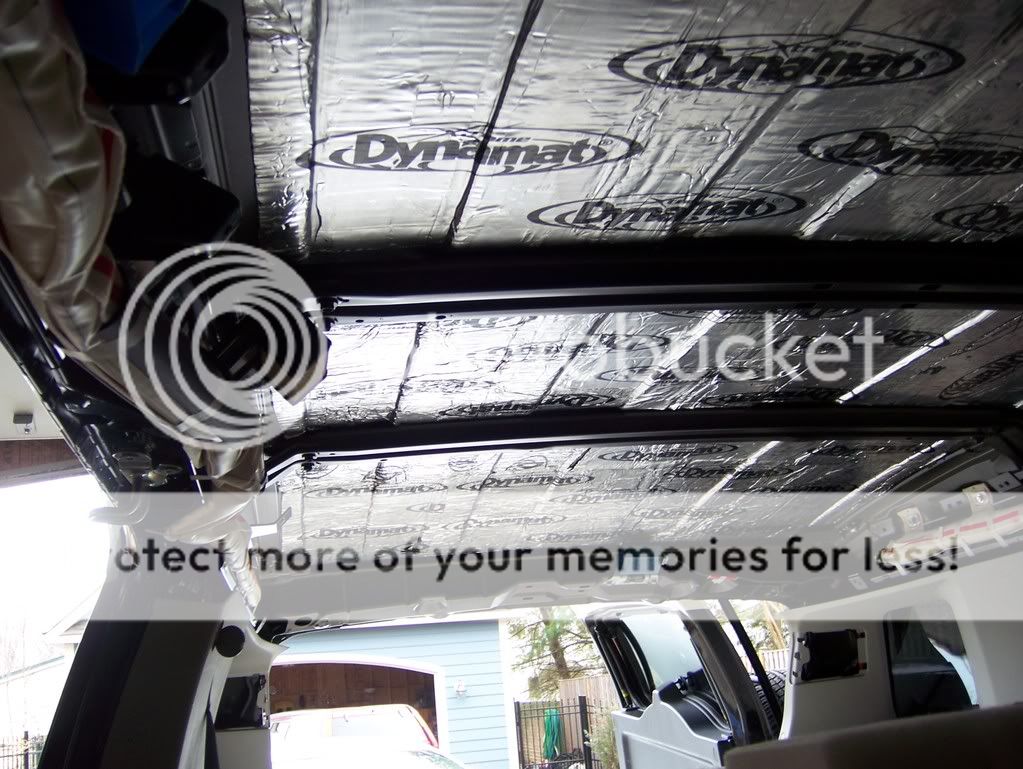
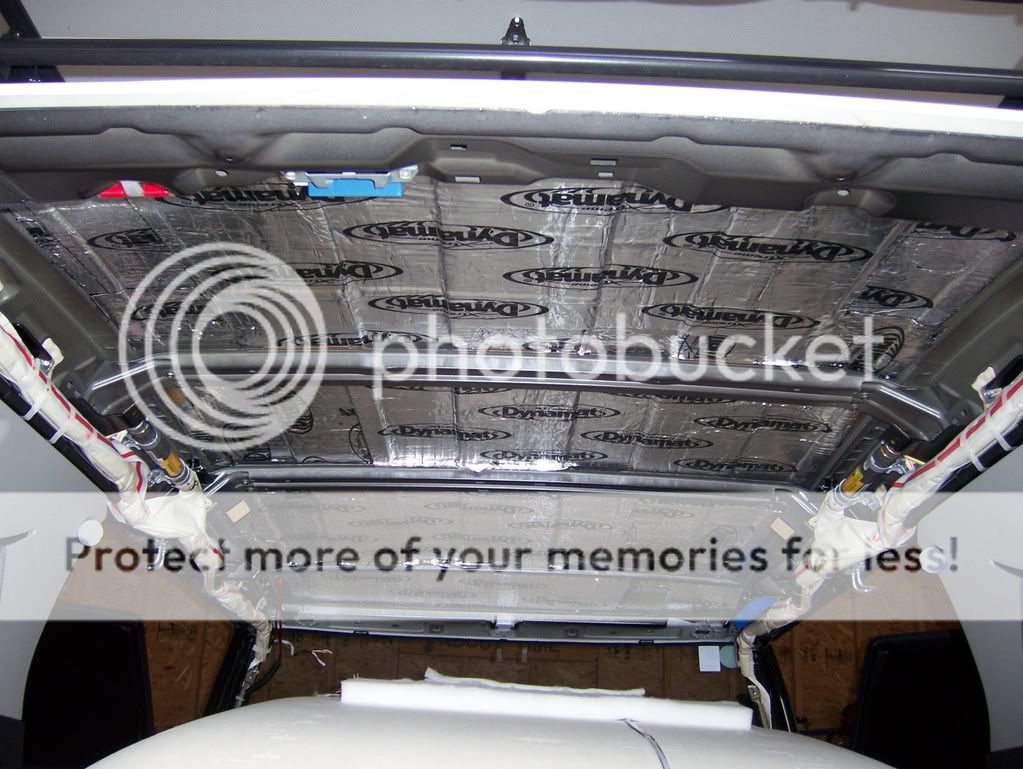
Step Three: Start installing Dynamat. Be sure that it is warm and soft before the install so that it can be installed easily. Start at one end and use a roller to smooth it out over the roof making sure to push it into all the areas and removing bubbles. Take your time and really work it onto the metal roof. I had enough Dynamat to install two layers on the front half of the FJ over the passengers heads.
![Image]()
![Image]()
![Image]()
![Image]()
![Image]()
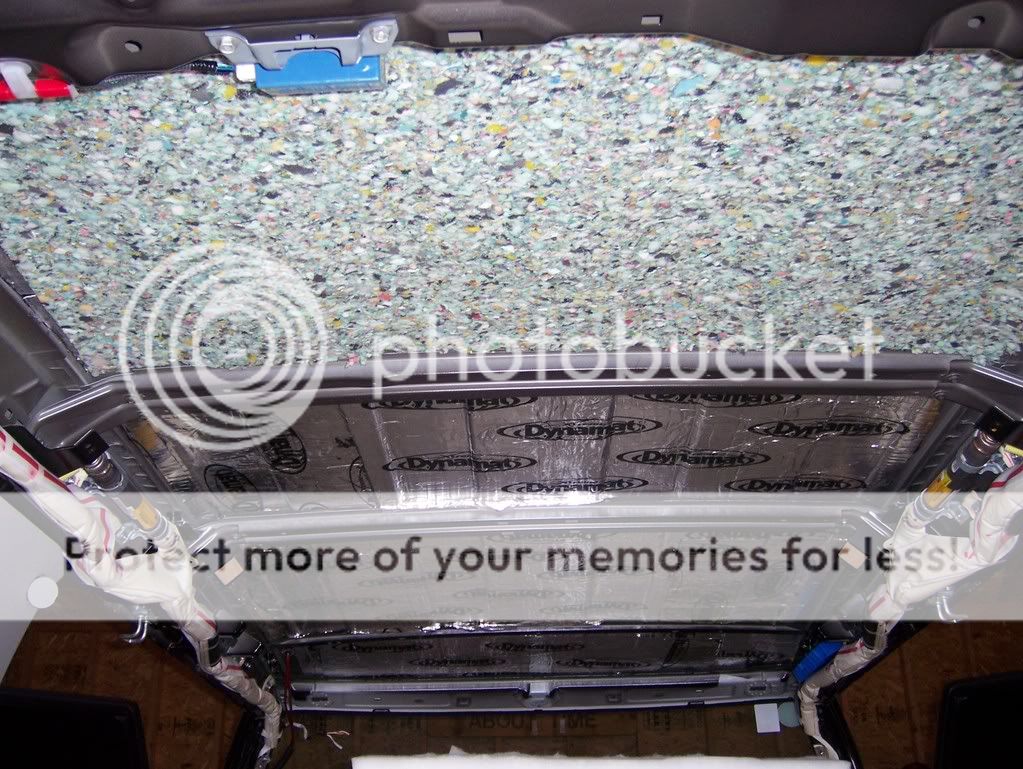
Step Four: Measure and cut squares of the carpet liner and apply the 3M adhesive spray to both the dynamat and the liner allowing time to tack up. Now start at one corner and push the liner onto the dynamat making sure contact is made.
![Image]()
![Image]()
![Image]()
Step Five: Reverse the disassemble of the headliner and reinstall everything. Its important to start at the front of the headliner to align and work backwards. Everything will line up smoothly as you go along. Make sure you hands are clean
Enjoy the quiet!
![Image]()
Supplies
1 bulk pack of Dynamat - 144$ shipped
1 can of 3M super adhesive - 10$
1 large roll of carpet padding - 30$
utility knife - 2$
Time - $$$$$$$$$$$
Total Cost approx. 200$
Warnings:
1) This will take a very long time and a lot of energy
2) If not done carefully it will ruin your headliner
3) Dynamat will cut your hands
Step one remove everything connected to the headliner. This includes hand holds, rear mirror, weather stripping around doors, rear hooks. Basically everything that is connected to the the headliner must be removed. Also the rear side panels will need to be disconnected and pulled out. They are held in by one bolt behind the Airbag emblem, a screw located in the rear hook and a push button plastic clip located near the rear glass. It is held in by many plastic clips so a good tug is necessary to pull it away from the body.

Note the bolt behind the Airbag button

Step Two: TWO people are required to do this next step which is dropping down the headliner. At this point it should want to drop but will still be held in place by the large side plastic panels. You must pull the edges carefully out from behind them and now the headliner will drop and rest on the seats.
I was unable to remove the headliner from the FJ because it would not fit through the rear door. I did not want to bend corners or remove any other panels so I worked around the panel. It was dificult at times but manageable and saved the effort of removing other panels or damaging the headliner.

Step Three: Start installing Dynamat. Be sure that it is warm and soft before the install so that it can be installed easily. Start at one end and use a roller to smooth it out over the roof making sure to push it into all the areas and removing bubbles. Take your time and really work it onto the metal roof. I had enough Dynamat to install two layers on the front half of the FJ over the passengers heads.

Step Four: Measure and cut squares of the carpet liner and apply the 3M adhesive spray to both the dynamat and the liner allowing time to tack up. Now start at one corner and push the liner onto the dynamat making sure contact is made.

Step Five: Reverse the disassemble of the headliner and reinstall everything. Its important to start at the front of the headliner to align and work backwards. Everything will line up smoothly as you go along. Make sure you hands are clean
Enjoy the quiet!


")


