


German for protection dog – Requires characteristics such as desire to work, courage, intelligence, perseverance, and a protective instinct. My German Shepherd and I thought it would be a great fit for the FJ.
April 2012
May 2011
July 2010
Trail Runs
2008
General Sams 11.9.08
General Sams 12.14.08
2009
Bravos Valley Off-Road Ranch (BVORR) 8.8.09
Thrill On The Hill (TOTH)
2010
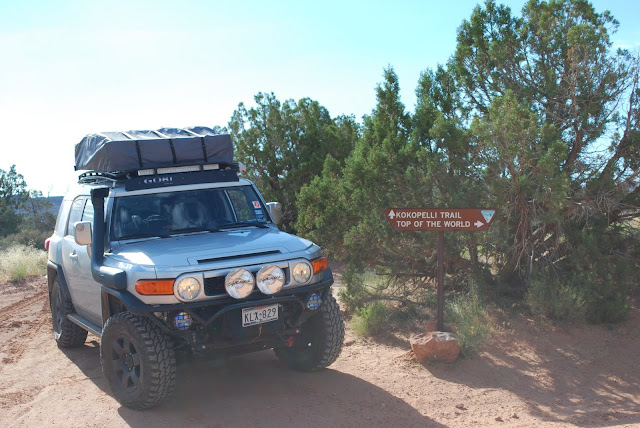
http://www.fjcruiserforums.com/forums/en-route-completed-expeditions/111060-four-corners-minus-one-expedition-ouray-moab-las-cruces.html
And several Houston Happy Hours along the way
Before

After
History - I purchased the FJ in April of 2008 during my last semester at Penn State. I had decided that I would need something with additional space to move down to Houston, TX for work after graduation. Plus, at the time I had a 96 Honda Civic w/o AC (Removed due to the top mount turbo setup I put in – GT28RS). I spent quite a bit of money fixing the civic up…suspension, 99/00 front end conversion, complete JDM interior (Recaros), and the list goes on. However, it wasn’t a practical car for life in Houston.
I always liked the look of the FJ and had been interested in them for quite some time. After selling my civic I made a trip to my local Toyota dealer and they had about 5 on the lot. Unfortunately for them they didn’t accept the price I was offering to purchase it for originally. Tried to nickel and dime me over $500 on my first trip. Ended up going to another dealer who offered a lower price which the original dealer matched, and then on top of that I went through the Costco purchase program which dropped another grand off the car. Ended up purchasing the new 2008 Ti FJ for $26,500 when it was listed for close to $32,000.
I was quite happy with the purchase and told myself that at least I wouldn’t waste my money on modifying the FJ. That lasted about 3 months.
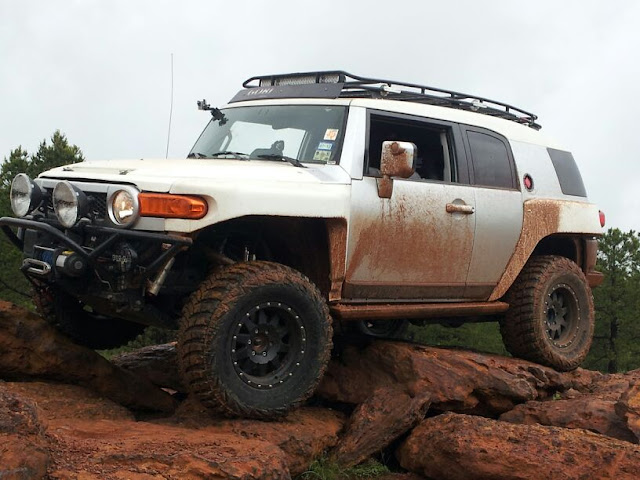
The following is a list of modifications that have been done to the base unit. As time progresses and finances allow I will be adding to this list and removing some items from it as well. The build strategy behind the FJ is to develop a vehicle system that will support expeditions with Me, my Girlfriend, my Shepherd, my Labrador, and her Vizsla (I'll be sure to let you know how expedition travel works out with 3 dogs..luckily none are full grown yet)
Exterior
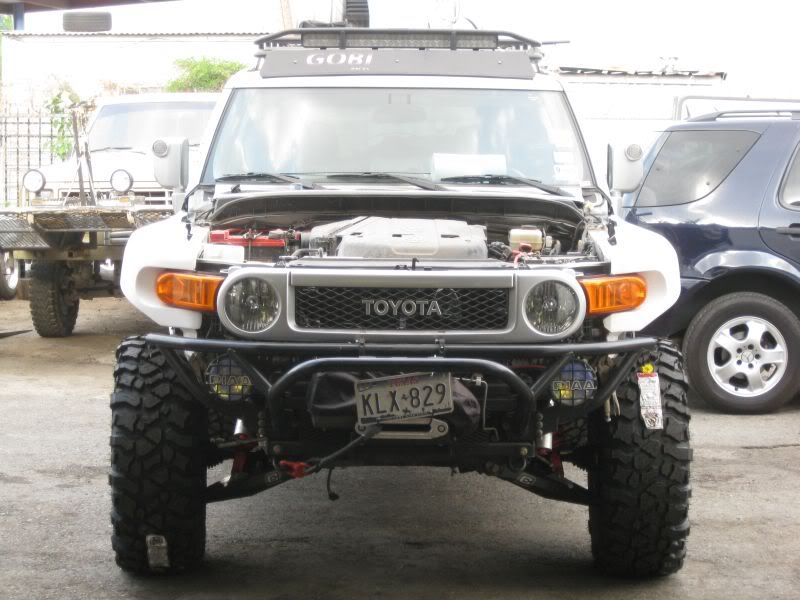
Metal Tech Front Bumper w/ Steel Bash Plate (Winch Plate in Garage awaiting Winch)
Metal Tech Rock Sliders
Ricochet LCA Skids
Outrider Rear Link Skids
Metal Tech Tube Doors
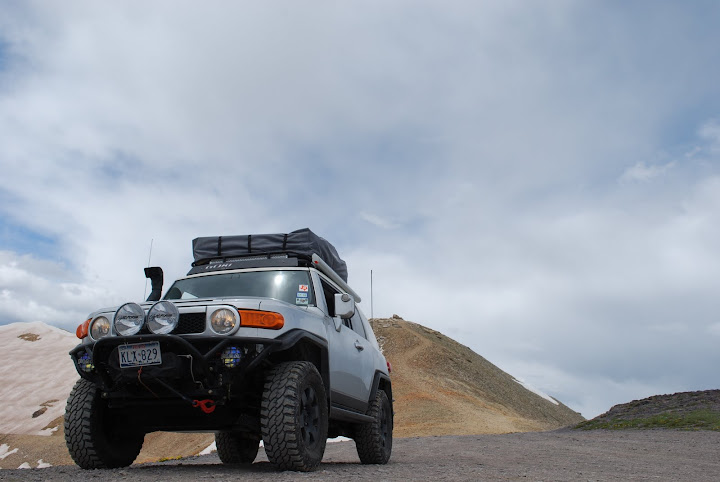
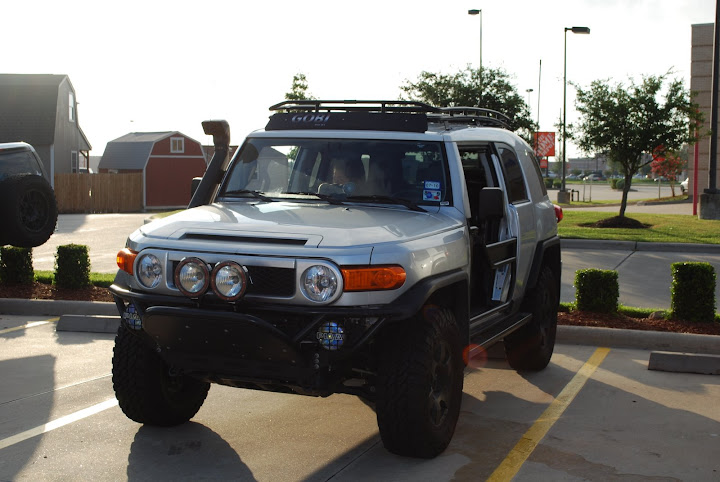
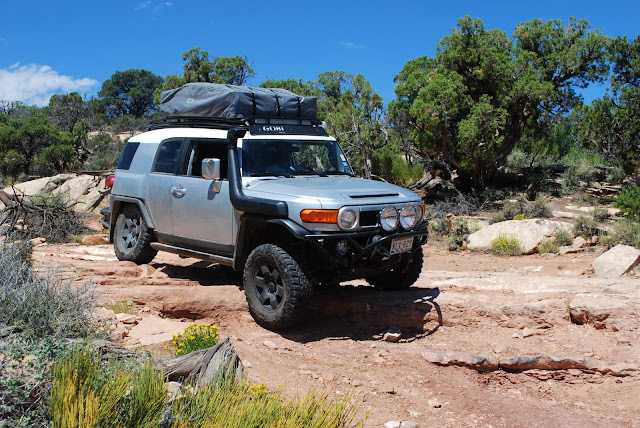
GOBI Stealth Roof Rack
GOBI Rear Ladder
Safari Snorkel
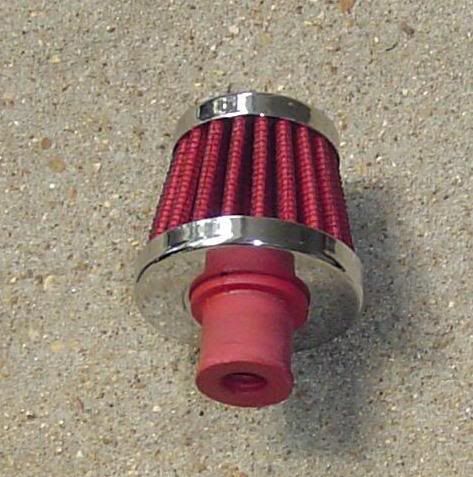
FJNewb's SCUBA DRIVER Mod
Suspension
OEM Wheel Powder Coated Black
Pro Comp Xtreme Mud Terrain
Icon VD – 2.5 Coilovers
Icon VD – Rear Shocks and Springs
Camburg UCA
Icon VD – Rear Lower Control Arms
Lighting
PIAA 520i Yellow Beams (2)
7” Kragen HID (2)
32” Visionx Xmitter (1)
Electronics
Dual Battery Setup
Cobra 75WXST CB Radio
3’ Fire Stick w/ spring and quick release
Bandi Mount
Fujitsu T4410 Convertible PC (Multi touch screen)
GPS USB puck
Delrome TOPO USA 8.0
RAM Mount
Recovery
Hi-Lift
30’ Recovery Strap
Chains
Storage
Industrial Forming Locking Console Cover
Roto-Pax 4 Gallon Fuel Packs (2)
Roto-Pax 4 Gallon Combinational Fuel Packs (2)
MAF 19 Gallon Auxilary Tank
Pelican/Hardigg im3075 case
Safety
Adventure Medical Kits - Weekender Adventure Medical First Aid Kit (highly recommend)
Signal Flares
Gloves
Maglight
Axe/hatchet
Future Modifications
10/2009
Skid Plates - Bud Builts
Aux Fuse Block
Rear Bumper - Toy Outfitters Swingout or Metal Tech w/ Toy Outfitters Swingout modification
Winch - Titan Winch
Lights - Either 2 more 7" Kragens or redo the bumper setup with VisionX LED's Solstice or Double Stack Xmitters
Fridge - Still researching
Beadlocks
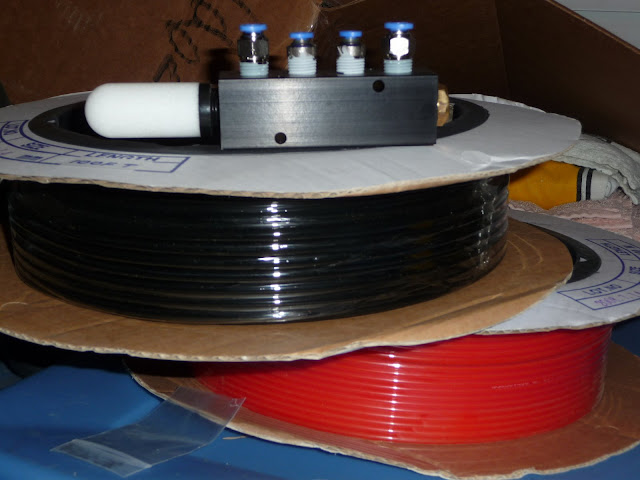
On Board Air
REVISED LIST 3/24/2010
Phase 1
Rear Drawer Storage System
Waeco Fridge
Fridge Slide
2nd MPAC Side Rack
2nd CO2 Bottle
Axe and Shovel
Awning
Phase 2
Long Travel Front Suspension
Long Travel Rear Suspension
Regear and ARB Locker
20z CO2 Bottle For ARB Locker
Beadlocks and New Mud Terrains
Phase 3
Differential Armor
Self Spotting Camera System
Lighting (Visionx or Lightforce)
Tube Fenders
10/2009
Skid Plates - Bud Builts
Aux Fuse Block
Rear Bumper - Toy Outfitters Swingout or Metal Tech w/ Toy Outfitters Swingout modification
Winch - Titan Winch
Lights - Either 2 more 7" Kragens or redo the bumper setup with VisionX LED's Solstice or Double Stack Xmitters
Fridge - Still researching
Beadlocks
On Board Air
REVISED LIST 3/24/2010
Phase 1
Rear Drawer Storage System
Waeco Fridge
Fridge Slide
2nd MPAC Side Rack
2nd CO2 Bottle
Axe and Shovel
Awning
Phase 2
Long Travel Front Suspension
Long Travel Rear Suspension
Regear and ARB Locker
20z CO2 Bottle For ARB Locker
Beadlocks and New Mud Terrains
Phase 3
Differential Armor
Self Spotting Camera System
Lighting (Visionx or Lightforce)
Tube Fenders
Here are a few of the threads which I started and may be of value to others...
FJNewb's Scuba Driver Mod
Man A Fre Auxilary Fuel Tank Review
Educate Me: Inchworm + Regear + Front Locker
Rotopax Fuel Pack/Jerry Can
32" Visionx LED Xmitter Bar Product Review
Question Regarding Jeep Mirrors for MT tube doors.
Fitting 3 Large Breed Dogs into FJ
The following posts will contain reviews about the products I have on my FJ and more detailed images to go along with them.
Page 1 of 4


")


