

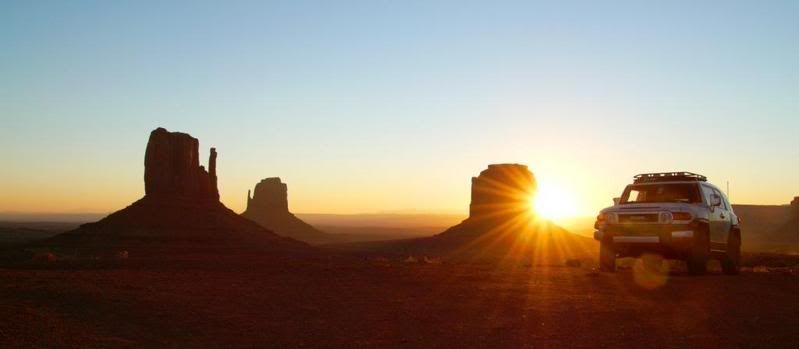
Monument Valley, AZ Nov 2007 (after the Kokopelli Trail Expedition with the Toyota Trails Team)
Welcome to my build-up/journal page, summarizing the current modifications on my 2007 Titanium Metallic Toyota FJ Cruiser with MT6 transmission. More details and photographs can be found by clicking on the links.
FACTORY
Factory options: Upgrade Package 1 (UP), Convenience Package (CQ), TRD exhaust, factory sliders, tire cover, side curtain airbags, floormats
Order date: 7 Jan 2006
Build date: Feb 2006
Delivery date: 25 Mar 2006 (official launch date in the US)
BUILD PURPOSE
Overland expedition vehicle
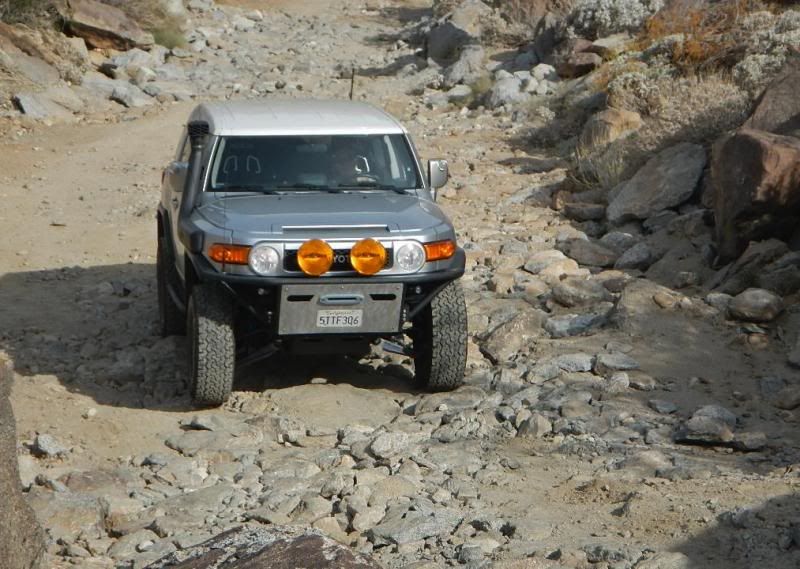
Current Configuration
![Image]()
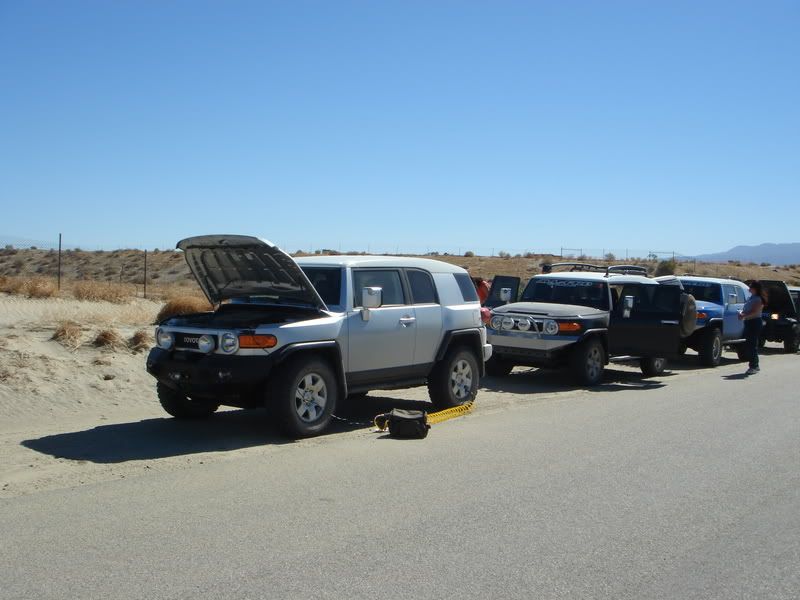
Anza-Borrego Desert State Park, CA
LIST OF MODIFICATIONS
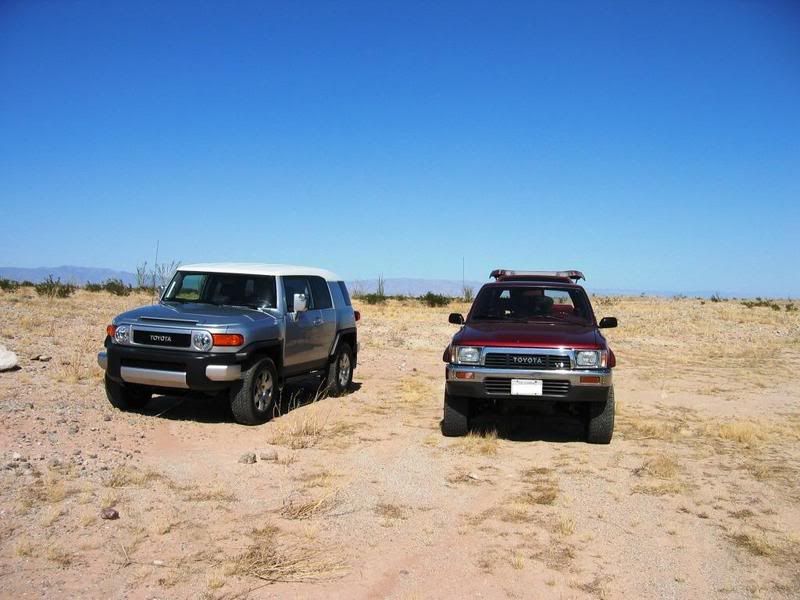
Anza-Borrego Desert State Park, CA
LIST OF MODIFICATIONS
ENGINE/DRIVETRAIN
Safari snorkel (installation)
AFE Pro Dry S air filter, PN 31-10114 (drop-in) (maintenance)
Mobil1 synthetic engine oil, 5W30
Redline synthetic oil for all differentials and manual transmission, 75W90 (PN 57904) and 75W90NS (PN 58304)
Relocated rear differential breather
SUSPENSION/TIRES/WHEELS/BRAKES
Front:
2.5” DIA King coilovers, 550 lb/inch spring rate, 5.5-inch shock travel (custom build with 1/4" shorter internal spacer), compression adjuster on remote reservoirs
2.0" DIA King hydraulic bump stops, 1.5-inch travel (shortened from 2.0" travel)
Total Chaos Upper Control Arms, PN 96504 (installation) (TC UCA's maintenance)
Total Chaos Lower Control Arms, PN 86500 (details)
Total Chaos shock tower gussets, PN 59651 (installation)
Total Chaos HD spindle gussets, PN 59698-SB (compatible with front sway bar) (installation) (photos)
Wheel Travel: 8.5" with 285/75R16 BFG AT tires
Brakes: EBC Sport rotors (GD 7237) and Green Stuff 7000 series pads (DP 71657)
Total Chaos stainless steel braided brake hoses, PN 86330 (2" longer) (DOT approved)
Limit straps with adjustable clevis (12" long) (photos)
Anti sway bar removed
Rear:
2.5” DIA King shocks, compression adjuster on remote reservoirs (installation) (Shock boots)
Custom Coil Spring Specialties springs (1" lift and 210 lb/inch spring rate)
2.0" DIA King hydraulic bump stops, 2-inch travel (details)
Total Chaos rear lower links, PN 86400L (9.5 lb each) (details)
Total Chaos rear upper links, PN 86400U (5.5 lb each)
Total Chaos panhard bar, PN 86400P (12 lb)
Addco rear sway bar, PN 2301 (22.2mm diameter, 9 lb) (installation)
Wheel Articulation: 13.25" (with rear swaybar disconnected) (details)
Brakes: EBC Sport rotors (GD 7161) and Toyota OE pads (PN 04466-60090)
Total Chaos stainless steel braided brake hoses, PN 97330 (2.5" longer) (DOT approved)
King suspension
Wheels/Tires Combination 1 (SOLD)
Tires: BF Goodrich All Terrain TA, 285/70R17
Wheels: factory FJC steel, 7.5 x 17 with 4.84" BS
Wheel/Tire weight = 102 lbs
Wheels/Tires Combination 2 (SOLD) (photos with old KM)
Tires: BF Goodrich Mud Terrain KM2, 255/85R16 (old KM details) (new KM2 details)
Wheels: factory FJC TRD alloy, 7.5 x 16 with ET15 (PN PT904-35070) with OMF beadlock conversion (details)
Wheel/Tire weight = 84 lbs (measured)
Wheels/Tires Combination 3 (Current)
Tires: BF Goodrich All Terrain TA, LT285/75R16 E 126/123Q, 56 lbs (details)
Wheels: Level 8 Mk6, 8 x 16 with ET0 (4.50" backspace), product code 16138, 22 lbs (details)
Wheel/Tire weight = 78 lbs (measured)
Body mount modification by DeMello
O&B anti swaybar collars (removed with front sway bar) (details)
ARMOR
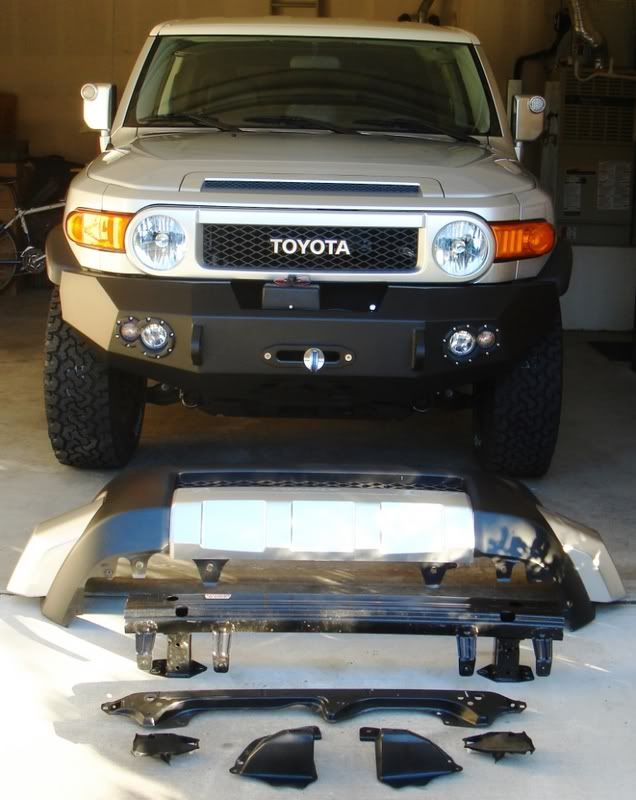
DeMello tube bumper, 57 lbs (measured) (details)
DeMello IFS skid plate, 50 lbs (measured)
DeMello custom hybrid sliders (details)
DeMello reinforced LCA mounts, front and rear (photos of rear mount)
DeMello rear bumper with Acro back up lights
DeMello offroad tow hitch, 9.6 lbs (measured) (details)
AUXILLIARY LIGHTS
Aeroflow headlight covers, clear
Lightforce 240 XGT driving lights (2), bumper mounted
Hella Micro DE projector fog lights (2), bumper mounted
Hella FF75 driving lights (4), roof mounted (photos) (removed with roof rack)
PIAA 1500 flood lights (2), roof mounted (facing aft) (photos) (removed with roof rack)
RECOVERY GEAR
Warn M8000 winch (uninstalled for now to reduce weight over front axle)
Albright sealed solenoid (not installed)
95 ft Viking 5/16" synthetic winchline with safety thimble (removed with winch)
D shackles (3)
Viking Delrin fairlead
ARB snatch block
ARB tree strap
ARB X Jack
SuperStrap 1" x 20' tow strap
ARB VKMA air compressor (On-Board Air system) (installation)
Tire repair kit
Gloves
COMMUNICATION/ELECTRONICS
Yaesu FT-7800R 2m/70cm amateur band transceiver (details)
Yaesu YSK-7800 separation kit (remote mic)
Laird Technologies/Antenex ETRA 1440 (installation)
Yaesu VX-6R 2m/70cm amateur band hand transceiver
Midland 75-822 citizen band transceiver (details)
Firestick II antenna, 2-ft no ground plane mount kit
bandi mount
NMO roof mount, Larsen (details)
Comet SBB-1 2m/70cm antenna (roof rack mounted) (details)
Diamond NR-770HB 2m/70 cm antenna (bumper mounted) (details)
Kenwood DNX-7100 stereo/GPS head unit
Kenwood KCA-BT300 Bluetooth adaptor (details)
Infinity Primus PR6500cs component door speakers (details)
Infinity Reference 1060W subwoofer with custom subwoofer box (details)
Rockford Fosgate Punch P450.4 4-channel amplifier
PAC Audio steering wheel control adaptor
USB Mass Storage Device, 16GB (music)
Battery Plus X2 dual purpose (starting/deep cycle) primary battery, model SLI27FAGMDP (67 lb) (details)
Sears Diehard Platinum PM-2 auxiliary battery (53 lb) (Aux Battery Version 2.0 installation)
National Luna Intelligent Solenoid battery isolator/combiner (1.5 lb with bracket)
MFJ-281 external speaker (details)
Audiovox rear view camera (details)
MISCELLANEOUS MODIFICATIONS/EQUIPMENT
Sparco R505 seats with Sparco seat bases (Installation details: Part I, Part II, Part III)
Schroth Rallye 3 four-point safety belts(Chime and Warning Disable)
Tuffy Products center console insert (PN 144) (details)
Iron Mountain Performance gray shift knobs
Scangauge II (details)
Blue Sea fuse box (2) with 80A Maxi fuses (details)
Hella 4-gang relay block (installation)
Hella 4-gang fuse block (installation)
Gobi custom shorti rack with antenna mount (details) (removed)
Scepter 20-liter fuel canister
Scepter 20-liter water canister
Spares (CV assembly, CV boot kit, serpentine belt, radiator hoses, oil filter, cabin air filter)
First Aid bag
Bug-out bag
Tool kit
Glock folding shovel with saw
Gerber axe
Trico NeoForm windshield wiper blades
Sunsei SE-400 solar charger, 400mA @ 15V
ARB MT 45 fridge/freezer with Polytherm baskets (details)
ARB fridge insulated transit cover
Engel Slide (all steel) (details) (updates)
12V Power Outlet for ARB fridge (Marinco)
12V Power Outlet for CB (Marinco)
Custom storage box/sleeping platform (details)
Custom auxiliary battery box mount and hold down, 6061-T6 aluminum (2.5 lb)
Unique Metal Products engine oil box (4 quarts) (details)
Load Tamer cargo net
Thule 7022 Go Box
Ratchet tie-down straps
Adjustable bungee cords
Amerex B500T fire extinguisher
Amerex 807 heavy duty fire extinguisher bracket
Emergency hammer/seatbelt cutter (update)
Dynamat Xtreme + Neoprene foam noise barrier (one bulk pack ~ 32 lbs) (details)
Folding table for rear door (details)
Back Door Interior Lock/Unlock Switches (details)
Back Door Interior Handle (details)
Detachable Petzl maplight (details)
TRUSTED VENDORS
DeMello Off Road, Corona, CA
Total Chaos Fabrication, Corona, CA
King Off-Road Shocks, Garden Grove, CA
OMF Performance Products, Riverside, CA
TRDParts4U (Toyota of Dallas), Dallas, TX
Maintenance
Total Chaos UCA Uniball maintenance
Cleaning engine air filter and cabin air filter
100k mile service (include fluid change for differentials, transfer case, and manual transmission)
PHOTO GALLERY "The Way We Were"
Anza-Borrego camping trip, Apr 2006 (one week old and no mods yet)
Fabfours bumper installed, Jul 2006 (this bumper has been replaced by the DO tube bumper after it was damaged in an accident in Homer, AK) (gory details)
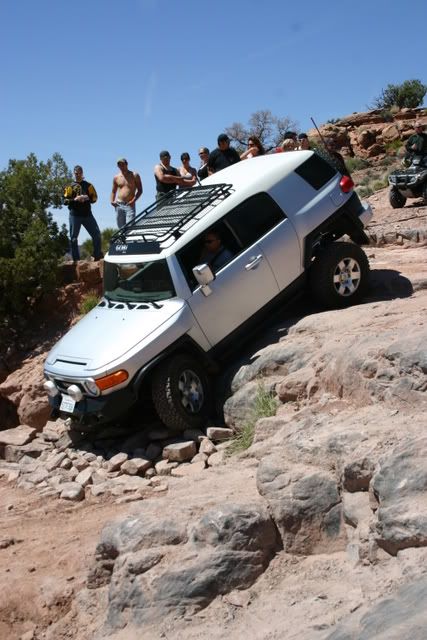
Borregofest I, Anza-Borrego desert state park, Oct 2006
Steelbender, Moab springfling, Moab UT, Apr 2007 (photo courtesy of stagecoachco)
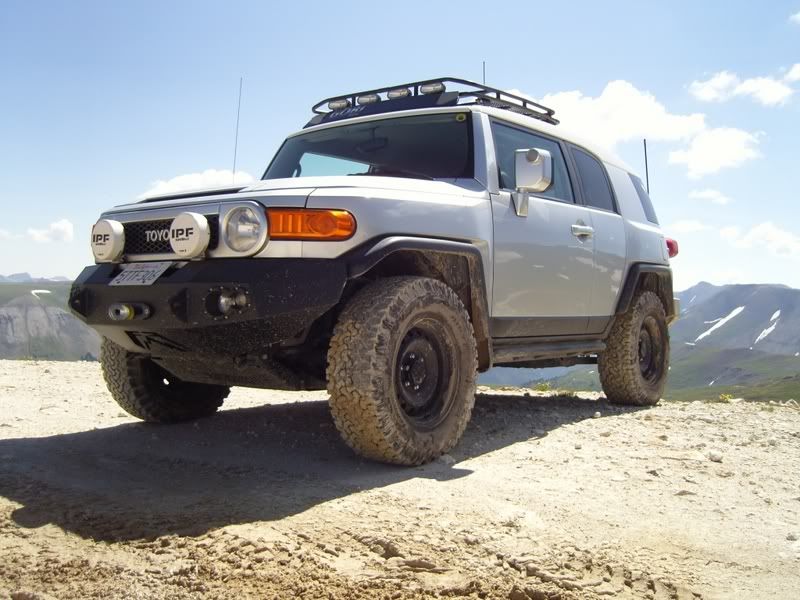
Alpine loop, First Annual FJ Cruiser Summit, Ouray CO, Jul 2007
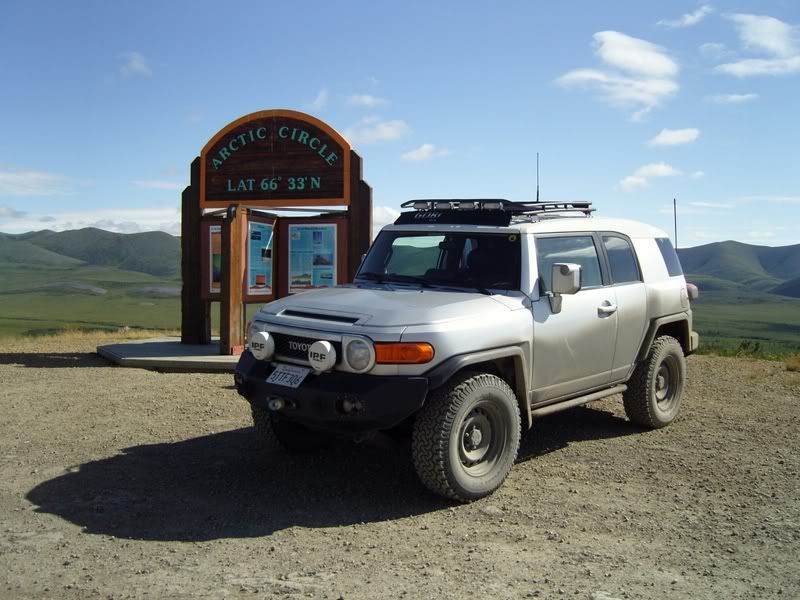
Crossing the Artic Circle, Dempster highway, YT Canada, Jul 2007
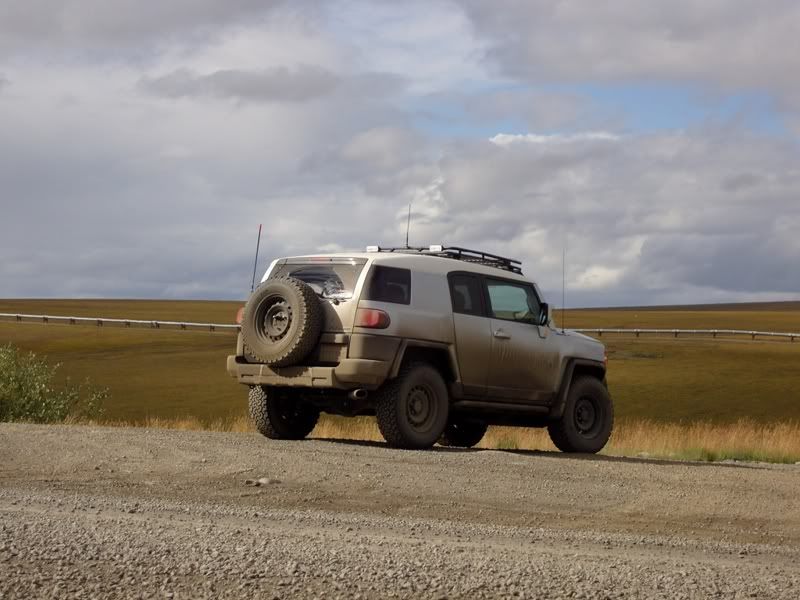
Dalton highway with Trans Alaska pipeline in background, Alaska, Aug 2007
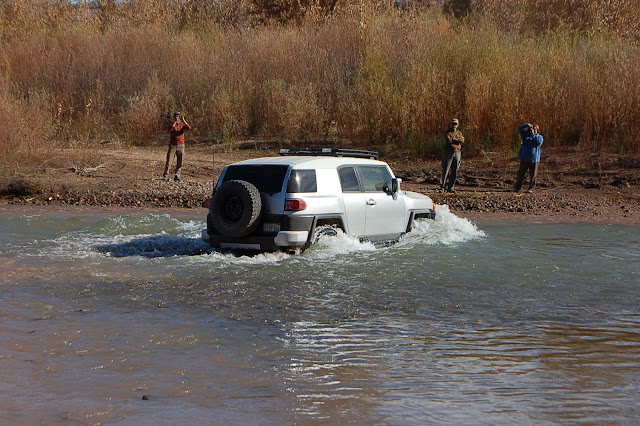
Goin' swimmin', Kokopelli Trail Expedition, Nov 2007 (photo courtesy of James, EC FJCTT)
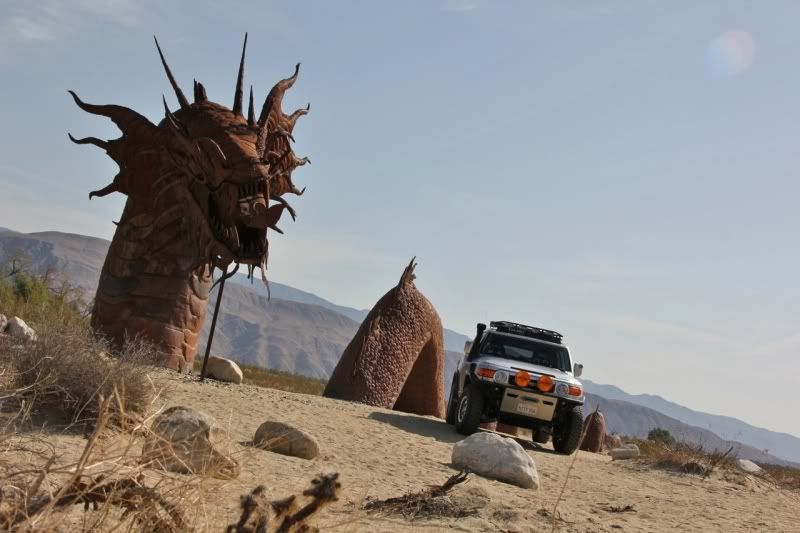
The Serpent and the FJC, Galleta Meadows, Borrego Springs
2008 Kokopelli Trail Group Photo

Maiden Voyage: 2007 Alaska
2007 Kokopelli Trail Expeditionhttp://www.fjcruiserforums.com/forums/731714-post212.html
2008 Annapurna Circuit Trek


